|
Prep Time
10 minutes
|
Cook Time
40 minutes
|
Total Time
50 minutes
|
Servings
2 portions
|
Most people ruin chicken skin before the pan even gets hot. They crank the burner, add oil, and wonder why they end up with patches of pale, greasy skin that chews like wet paper. The cold-start method fixes all of that — not because it’s clever, but because it works with physics instead of against it.
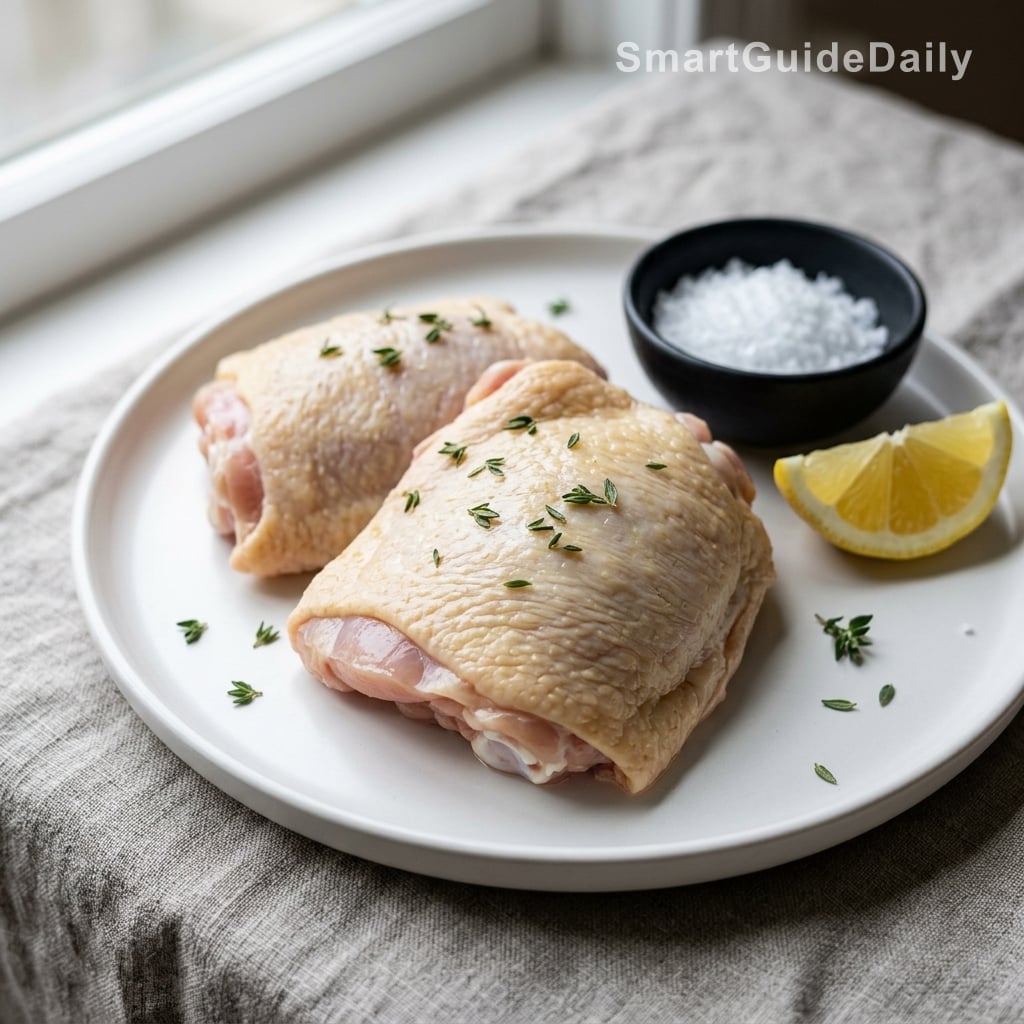
Bone-in, skin-on chicken thighs are the right cut for this. The skin is thick enough to withstand a long, gradual render, and the fat underneath — there’s more of it than you think — does most of the work for you. By the time the thighs are cooked through, the pan looks like it’s been seasoned with rendered gold, and the skin crackles audibly when you press it with a finger.
Why you’ll love this recipe
Ingredient Notes
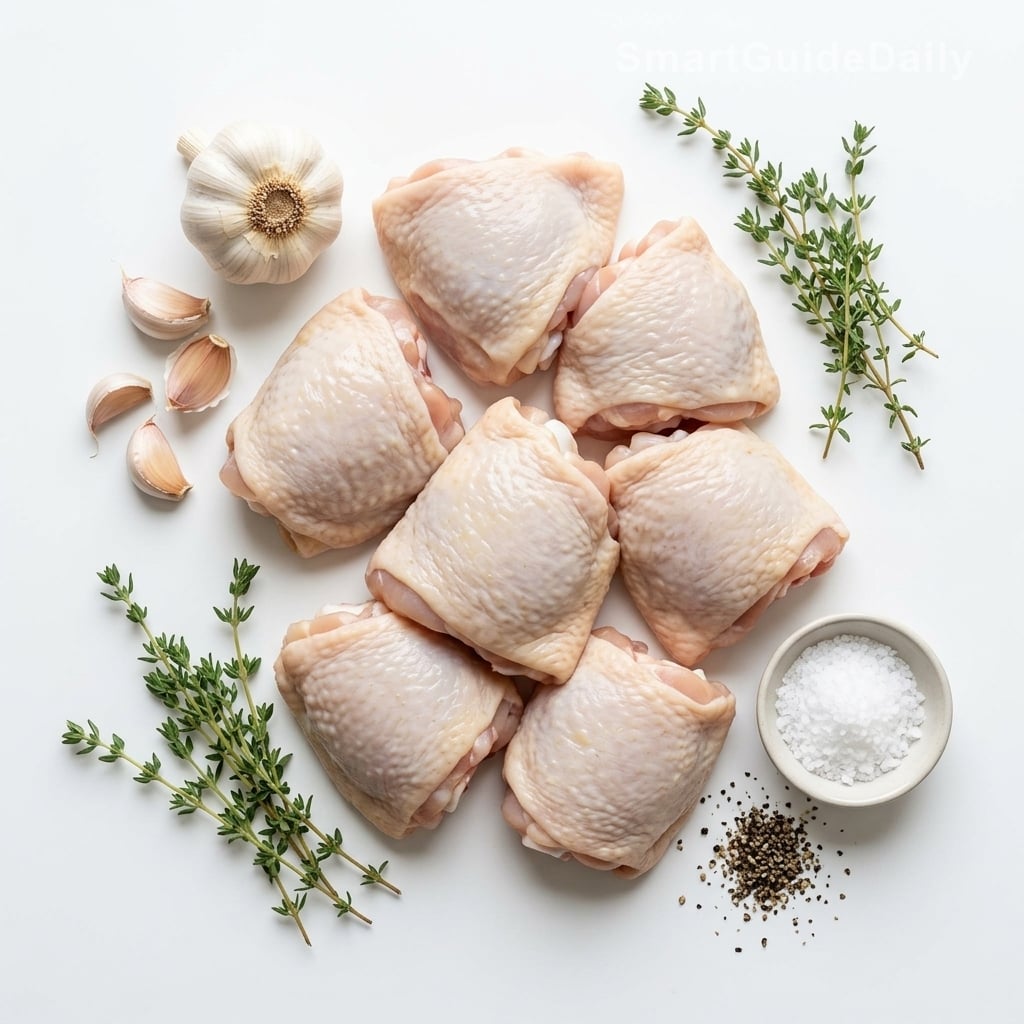
Everything the method needs — bone-in thighs, garlic, thyme, salt, pepper.
- Bone-in, skin-on chicken thighs : The cut matters. Thighs carry more fat under the skin than breasts, which means more to render, more flavor, and a much harder piece of meat to overcook. Two thighs, roughly 300–350g each, is the right amount for one pan.
- Kosher salt : Season at least 30 minutes before cooking — ideally the night before and left uncovered on a rack in the refrigerator. Salt pulls surface moisture out, which then gets reabsorbed. The skin will look almost papery by the time you’re ready. That’s what you want.
- Cracked black pepper : Freshly cracked, applied to the skin side only. It toasts slowly in the rendered fat and smells noticeably different from pre-ground. Worth the extra 20 seconds.
- Garlic : Two or three cloves, smashed and unpeeled. Added to the pan once the fat starts to pool — not before, or they’ll burn well before the chicken is done.
- Fresh thyme : A few sprigs added alongside the garlic in the final stretch. The pooled fat becomes infused as it collects, and you can spoon it back over the meat. Optional, but it earns its place.
Why Cold Works
The standard advice — sear in a ripping-hot pan — is designed to develop a crust fast and lock in heat. It works for steak. It does not work well for chicken skin, because chicken skin needs time, not shock. When you place it skin-side down into a cold pan and raise the temperature gradually, the subcutaneous fat renders slowly outward, basting the skin from underneath as it liquefies. The skin dries and crisps from the inside out. A hot pan, by contrast, hits the outer surface before the fat has had any chance to move. You get browning, yes, but the fat remains trapped underneath — and the result is leathery, or slides off in one rubbery sheet. The cold-start method is slower and requires patience, but it is also significantly more forgiving than anything involving a preheated skillet.
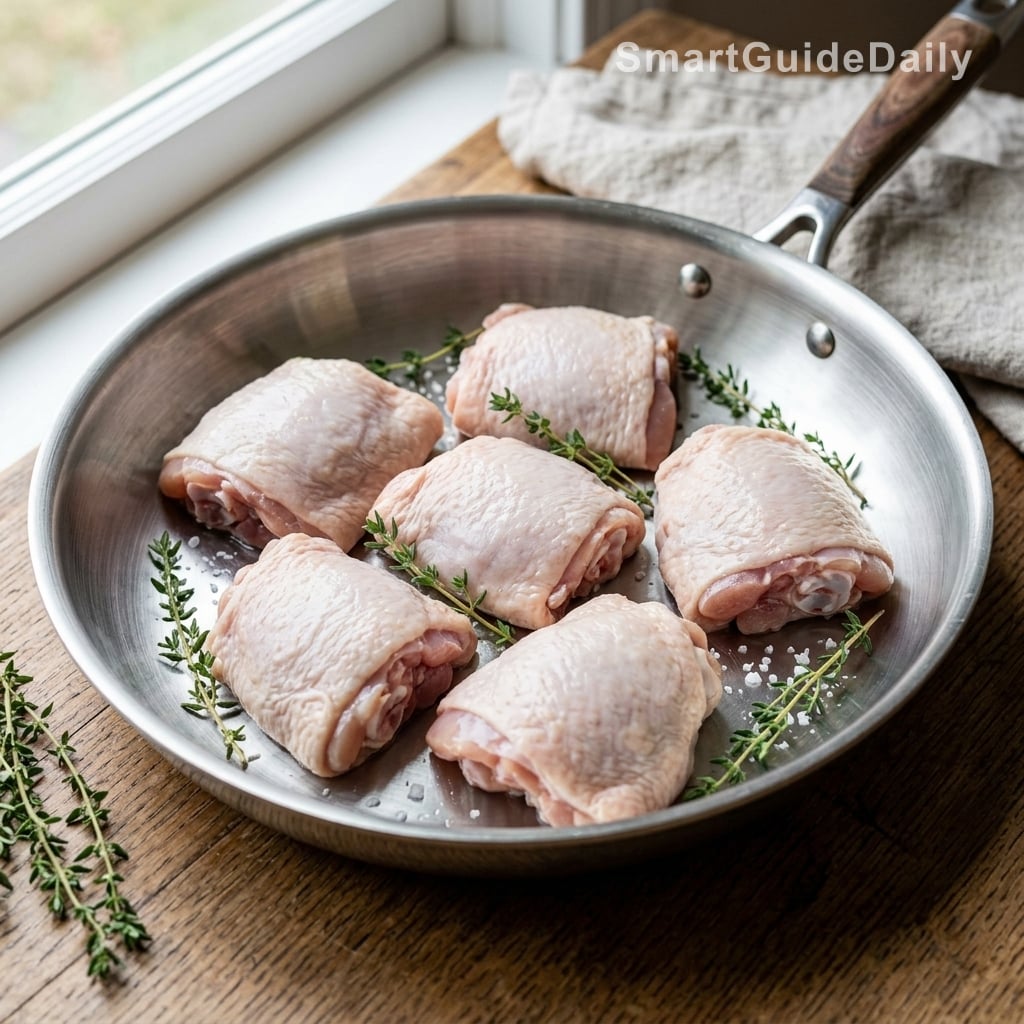
Before the Pan
Dry skin is the non-negotiable prerequisite. Take the thighs out of the packaging and pat them thoroughly with paper towels — the skin side, the underside, along the bone. If you have time, leave them uncovered on a wire rack in the refrigerator overnight. Season generously with kosher salt on both sides, cracked pepper on the skin side only. Then set them aside at room temperature for at least 30 minutes before cooking. Cold meat placed in a cold pan takes longer to come up to temperature, which throws off every timing estimate in the recipe. This is a shortcut not worth taking.
The Long Render
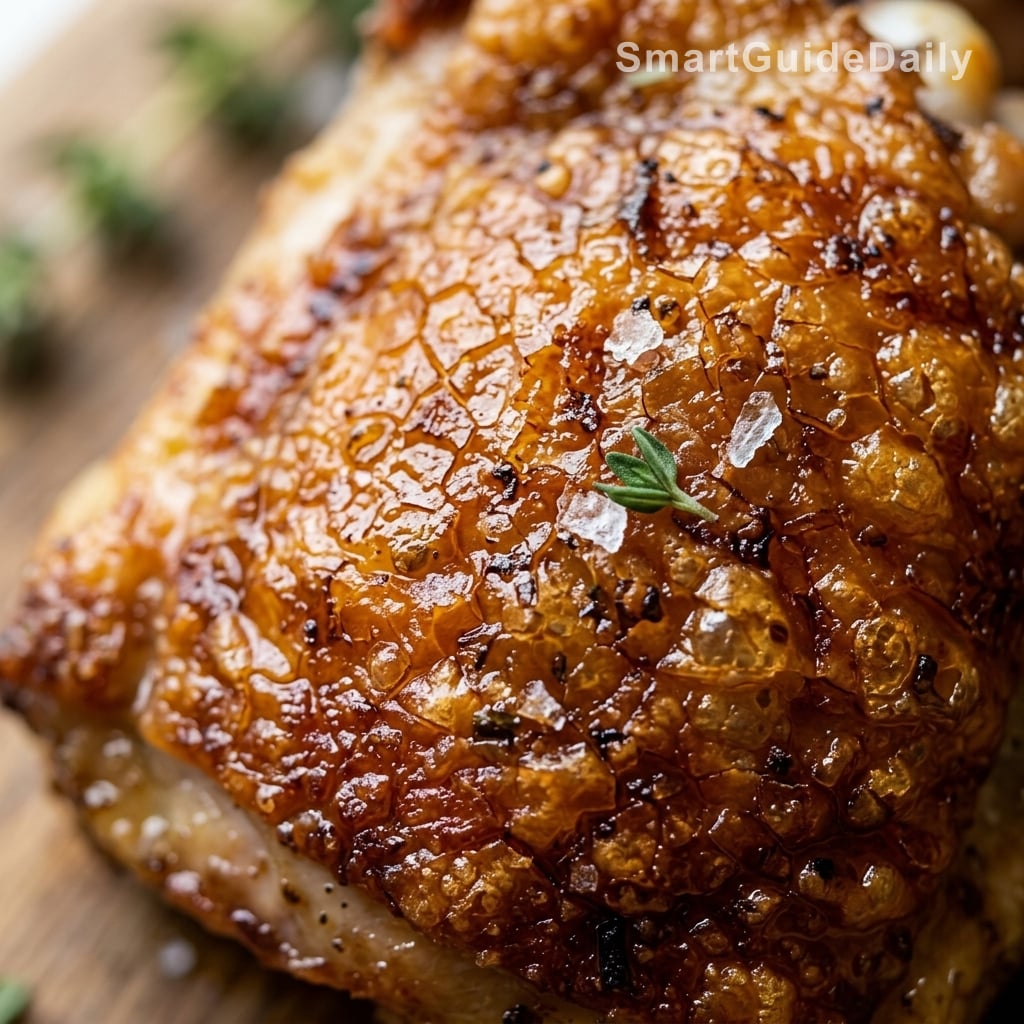
Place the thighs skin-side down in an unheated, dry stainless steel or cast iron skillet. No oil. Turn the heat to medium-low. The first few minutes will be almost silent — no sizzle, no color change. That is correct. Around the five-minute mark, you’ll hear the first soft hiss as moisture escapes and fat begins to liquefy at the edges. Do not move the chicken. Pressing it down, adjusting its position, or lifting an edge to check interrupts the rendering and breaks the contact between skin and pan. By the fifteen-minute mark, a shallow pool of clear, golden fat will have collected around the thighs. The skin will have visibly contracted against the flesh, and the color will be deepening from ivory toward pale amber. The smell at this point — faintly nutty, with that specific rendered fat warmth — is a reliable indicator that the process is working.
The Flip
After 30 to 35 minutes on medium-low, the skin should be a deep, even amber and rigid — you’ll feel the resistance when you try to lift an edge with a thin spatula. At this point, add the smashed garlic and thyme to the pan. The fat will sputter briefly as they hit the heat. Flip the thighs and cook the flesh side for five to seven minutes, or transfer the entire pan to a 200°C oven for the same duration if you’re working with particularly thick pieces. The internal temperature you want is 74°C at the thickest point, away from the bone. Rest the thighs for five minutes before serving. The skin holds its texture through the rest.
What’s Left in the Pan
Don’t discard the rendered fat. Strain it through a fine-mesh sieve, transfer it to a small jar, and refrigerate it. It keeps for two weeks and behaves like a mild, savory cooking fat — use it to roast potatoes, fry eggs, or build the base of a pan sauce the following night. There’s nothing wasteful about the cold-start method. The chicken provides everything it needs for its own cooking, and then some.

Tips & Tricks
- Don’t use a non-stick pan. Non-stick doesn’t develop the kind of contact and heat transfer this method depends on, and the prolonged medium heat degrades the coating. Stainless steel or cast iron, always.
- If dark patches appear before the 20-minute mark, your heat is too high. Pull the pan off the burner for 60 seconds, then return it on a lower setting. The method is recoverable at this stage.
- Resist the urge to cover the pan. Steam is the enemy of the skin you just spent 35 minutes rendering. Even a brief lid traps moisture and undoes most of the work.
Can I use chicken breasts instead of thighs?
You can, but the results will be noticeably different. Breasts have less subcutaneous fat, so the render is thinner and the skin more prone to tightening and splitting without crisping evenly. If you insist on breasts, use bone-in, skin-on, and reduce the render time by about 10 minutes — then check internal temperature carefully, as breasts overcook faster.
Why no oil in the pan?
Because the chicken provides its own. A bone-in thigh with skin intact contains enough fat underneath to fully lubricate the pan as it renders. Adding oil before that fat has released dilutes it and causes uneven browning. Wait until the fat is pooling naturally — then, if you want, baste with it.
How do I know when the skin is ready to flip?
Slide a thin spatula under one edge. If it releases cleanly with minimal resistance, the skin is done rendering. If it sticks and tears, it needs more time. At 30 to 35 minutes on medium-low, the skin should be deep amber and rigid — it won’t flex when you press it.
My skin came out pale and soft. What went wrong?
Two likely culprits: the skin wasn’t dry enough before cooking, or the heat was too low. Surface moisture steams the skin rather than crisping it. Next time, leave the thighs uncovered in the refrigerator overnight after salting. Also confirm your medium-low is actually producing heat — a weak burner stalls the entire process.
Can I prepare the chicken ahead of time?
Salting ahead is not just permitted — it’s recommended. Salt the thighs the night before and leave them uncovered on a rack in the refrigerator. This draws out surface moisture and allows it to be reabsorbed, seasoning the meat more deeply. The actual cooking should be done fresh; reheated crispy skin does not survive well.
Does this work on an electric burner?
It does, but electric burners require more attention during the early phase. They’re slower to respond to adjustments, so if the heat creeps too high, you can’t drop it instantly. Start at the lower end of medium-low and check for color at the 20-minute mark.
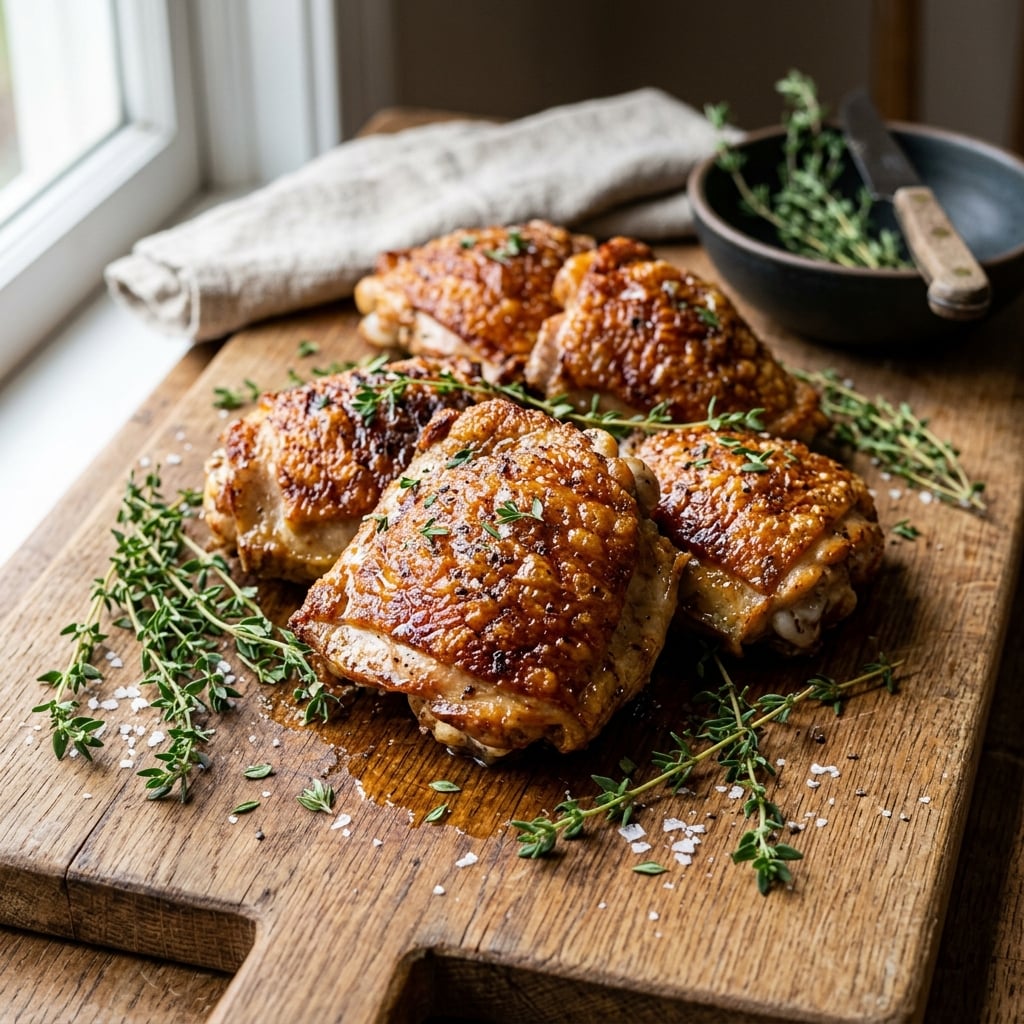
Cold-Start Chicken: The Crispy-Skin Method That Starts in a Cold Pan
American
Mains
|
Prep Time
10 minutes
|
Cook Time
40 minutes
|
Total Time
50 minutes
|
Servings
2 portions
|
Bone-in, skin-on chicken thighs placed skin-side down in a cold, dry pan — then cooked low and slow until the fat renders out completely and the skin turns rigid and amber. No added oil, no searing, no fuss.
Ingredients
- 2 bone-in, skin-on chicken thighs (300–350g each)
- 1 tsp kosher salt, plus more to taste
- ½ tsp freshly cracked black pepper
- 3 garlic cloves, smashed and unpeeled
- 4 sprigs fresh thyme
Instructions
- 1Pat the chicken thighs thoroughly dry with paper towels on all sides. For best results, salt them and leave uncovered on a rack in the refrigerator overnight.
- 2Season generously with kosher salt on both sides and cracked black pepper on the skin side only. Let the thighs rest at room temperature for 30 minutes before cooking.
- 3Place the thighs skin-side down in a cold, dry stainless steel or cast iron skillet. Add no oil. Turn the heat to medium-low.
- 4Cook undisturbed for 30 to 35 minutes. Do not press, move, or check underneath. The fat will render out and pool around the thighs; the skin will tighten and deepen in color.
- 5When the skin releases cleanly and is deep amber, add the smashed garlic cloves and thyme sprigs to the rendered fat in the pan.
- 6Flip the thighs and cook the flesh side for 5 to 7 minutes, until the internal temperature reads 74°C (165°F) at the thickest point, away from the bone.
- 7Transfer to a plate and rest for 5 minutes before serving.
Notes
• Do not use a non-stick pan — it will not develop the contact or heat transfer this method requires.
• If dark patches appear before 20 minutes, the heat is too high. Pull the pan off the burner for 60 seconds, then return it on a lower setting.
• Strain the rendered fat left in the pan and refrigerate it for up to two weeks. It works well for roasting vegetables or frying eggs.
• Do not cover the pan at any point. Steam softens the skin and undoes the render.
Nutrition Facts (per serving, estimated)
| 420 kcalCalories | 36gProtein | 1gCarbs | 29gFat |