|
Prep Time
30 minutes
|
Cook Time
3 hours 30 minutes
|
Total Time
4 hours
|
Servings
4 portions
|
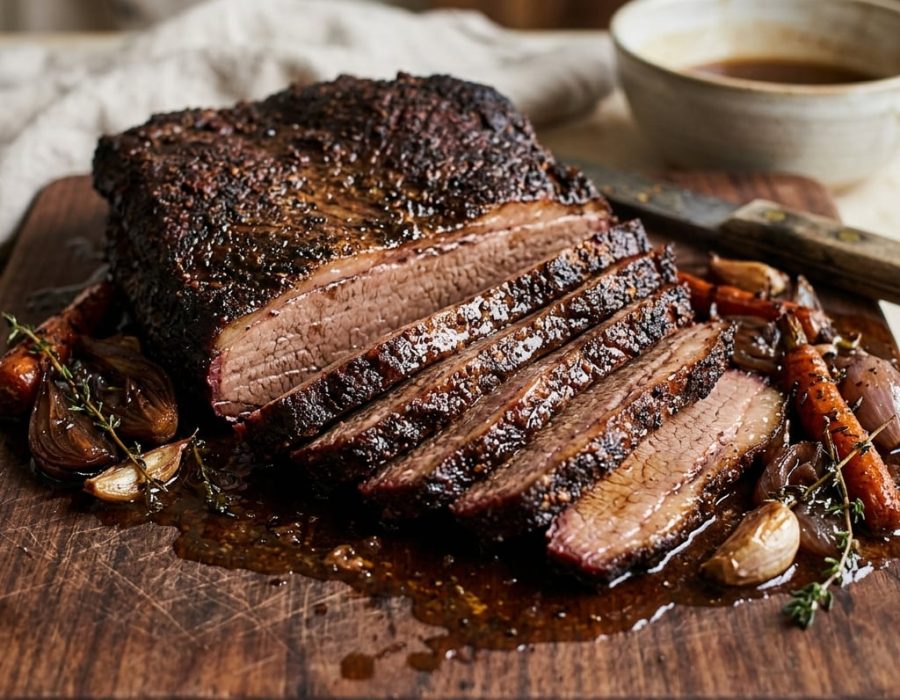
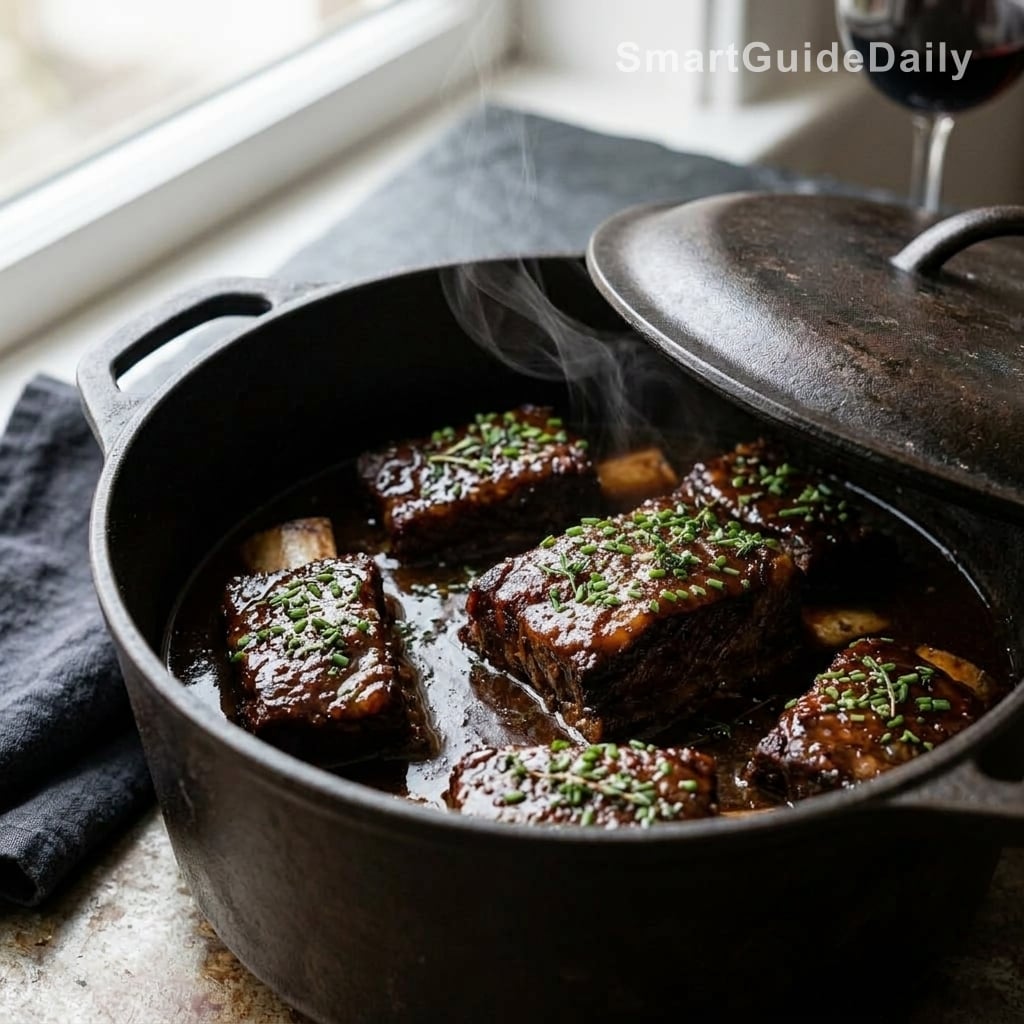
A Saturday in November, guests arriving at seven. This is what you make. Braised short ribs sit in the oven for three and a half hours while you do other things, and by the time dinner is served, the sauce has become something that requires no explanation.
The cut matters. Bone-in short ribs — the thick, English-cut kind, not the flanken strips — are what you want here. The bone conducts heat into the meat from the inside while the surrounding collagen melts slowly outward, eventually joining the braising liquid and thickening it without any cornstarch, without any tricks. By the time the oven is done with them, the meat has pulled back from the bone by nearly an inch. That gap is how you know.
Why you’ll love this recipe
Ingredient Notes
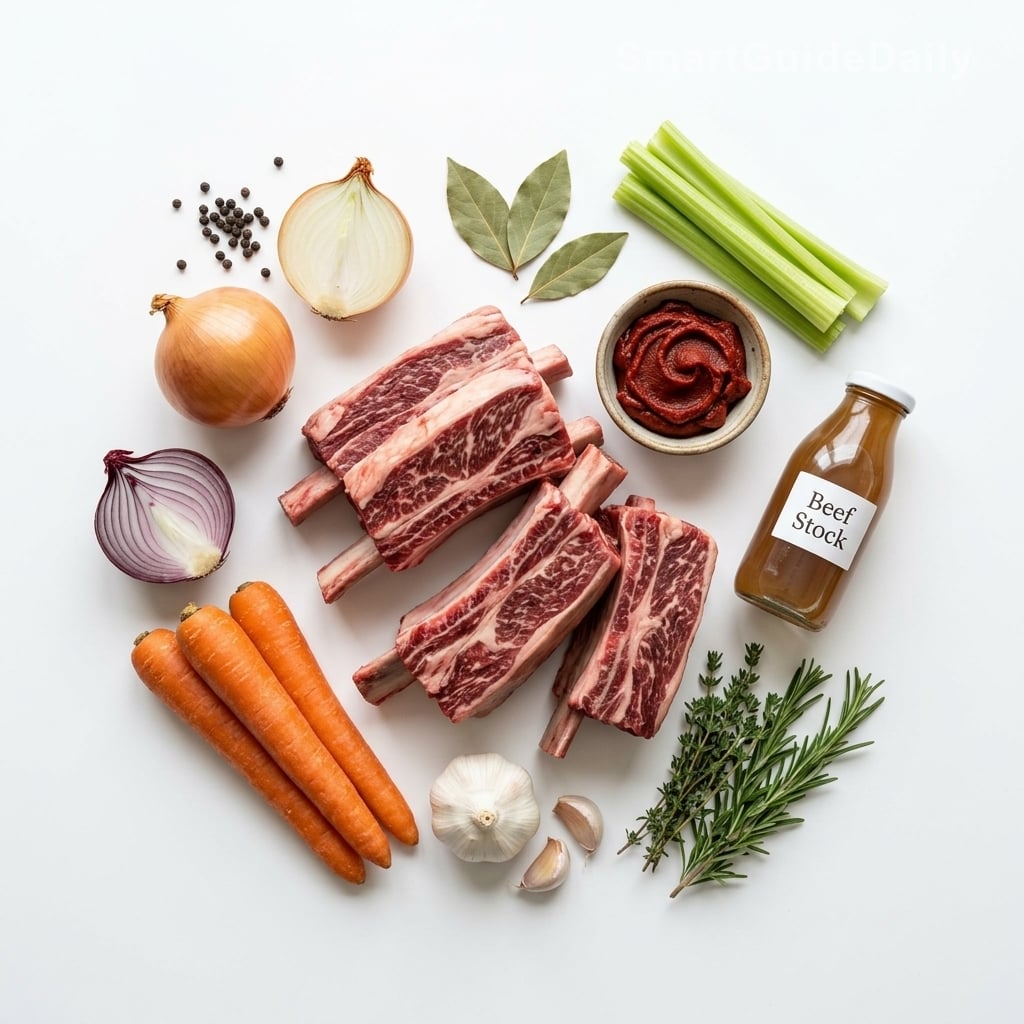
Bone-in beef short ribs and the aromatics that will become the sauce.
- Bone-in beef short ribs (English cut) : Each piece should be 2–3 inches thick with a decent fat cap. The bone is not decorative — it insulates the meat during the long braise and adds body to the liquid. Don’t substitute boneless; you’d lose half the point.
- Beef stock : Use the best stock you can source, ideally one that gels when cold. A thin, watery stock produces a thin, watery sauce. If yours pours like water straight from the carton, reduce it by half before using.
- Tomato paste : Cook it alone in the pan over medium-high heat for two to three minutes before adding anything liquid. It should deepen from bright red to a darker, almost brick color. This step builds flavor you cannot add back later.
- Aromatics — onion, carrot, celery, garlic : A standard mirepoix plus garlic. They flavor the liquid, and since the braising liquid becomes the sauce, they matter. Don’t rush the sauté — soft, lightly caramelized aromatics give more than raw ones ever will.
- Fresh thyme and bay leaves : They steep for three-plus hours, so fresh herbs outperform dried here. No need to bundle them; you’ll strain everything out before reducing the sauce.
- Neutral oil with a high smoke point : You need a fierce sear. Use grapeseed, avocado, or refined sunflower oil. Olive oil smokes before the pan is hot enough. Butter burns. The sear is where the sauce begins, so the oil choice is not minor.
Start the Day Before If You Can
There is a practical argument for making braised short ribs ahead, and it’s not about flavor — though the flavor does improve. It’s about fat. Short ribs contain significant intramuscular fat, and some of it renders into the braising liquid during cooking. If you serve the dish same-day, you’re skimming liquid fat off a hot surface with a spoon, which works but leaves residue. If you refrigerate overnight, the fat solidifies into a pale layer you can lift off in one piece, cleanly, in thirty seconds. The sauce underneath will be glossy, concentrated, and very dark. To serve, reheat the ribs submerged in the sauce, covered, at 300°F until warmed through. That’s it.
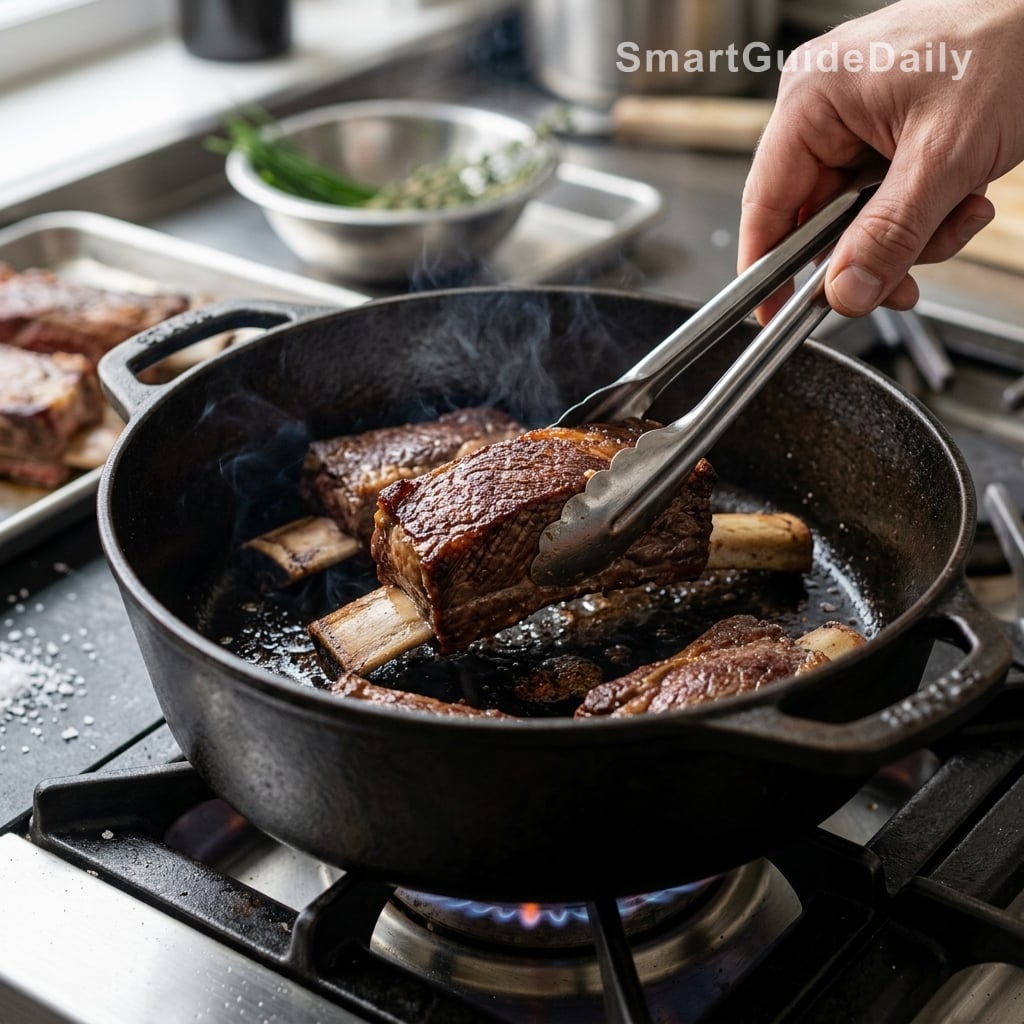
The Sear Is the First Investment
Get the Dutch oven hot. Not warm — hot. A drop of water should evaporate immediately on contact. Pat the short ribs completely dry with paper towels, season aggressively with salt and black pepper, and sear them in batches without crowding. Crowding drops the pan temperature and you end up steaming instead of searing, which produces gray meat and a pale fond. You want a deep mahogany crust that releases on its own — if it’s sticking, it’s not ready to flip. Each side needs at least three minutes. The dark, slightly sticky deposits building on the bottom of the pan are not a problem to solve. They’re coloring the sauce.
Build the Braise
Remove the ribs and set them aside. Add the aromatics to the same pan and cook them in the rendered fat over medium heat until soft, scraping the fond as you go. Push everything to the side, add the tomato paste directly to the center of the pan, and cook it without stirring for two full minutes — it should shift from red to rust and smell faintly sweet and bitter at the edges. Deglaze with a small amount of stock and scrape hard. Add the remaining stock until the liquid reaches roughly halfway up the ribs, then nestle the ribs back in, bone side down. The liquid should not cover them. Tuck in the thyme and bay leaves, bring to a bare simmer, cover tightly, and slide into a 325°F oven.
Three and a Half Hours
Resist opening the oven repeatedly. Every time the lid comes off, heat escapes and the braising temperature drops. Set a timer for three hours, check once. The ribs are done when a paring knife slides through the meat with no resistance and the flesh has visibly pulled back from the bone. If there’s still any resistance, give it another thirty minutes without discussion. You cannot rush this with higher heat — you’ll get tight, dry meat and a broken sauce. The collagen needs sustained low temperature to unwind and dissolve into the liquid. When the ribs are ready, the braising liquid will look turbid and may not seem like much. Don’t judge it yet.
The Move That Makes the Sauce
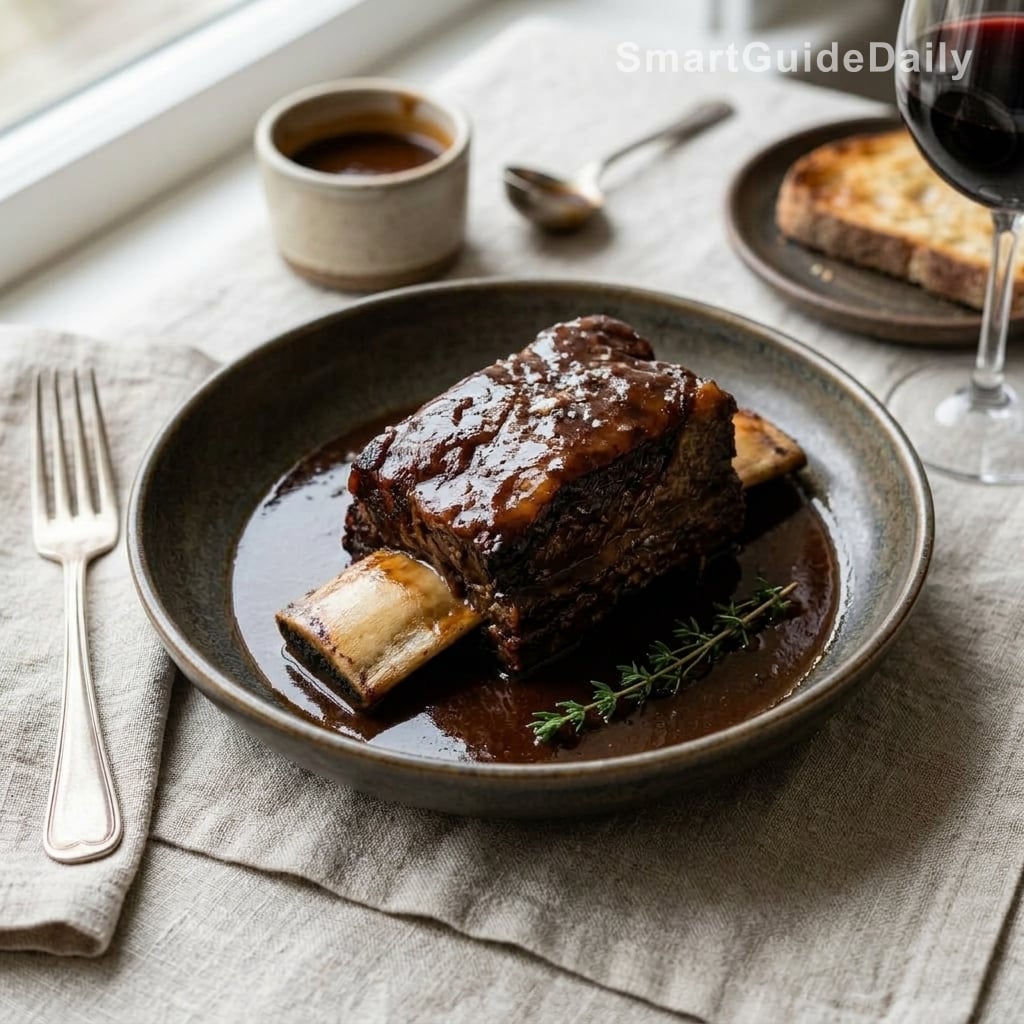
Transfer the ribs carefully to a plate. Pour the braising liquid through a fine-mesh strainer into a wide saucepan, pressing the solids firmly to extract every drop. Discard the solids. Skim any fat from the surface. Set the saucepan over high heat and reduce the liquid by roughly half — watch for it to shift from opaque and thin to glossy and coating. It should cling to a spoon without running immediately. Taste regularly as it reduces; a sauce that over-reduces and over-salts can’t be fixed easily. Return the ribs to the finished sauce and spoon it over them. That’s the restaurant version. There’s no other secret.
Tips & Tricks
- Salt the short ribs the night before and leave them uncovered in the refrigerator. The surface dries out significantly, which makes the sear far more efficient — a wet surface steams before it ever browns.
- If your Dutch oven lid doesn’t seal tightly, lay a sheet of foil directly over the ribs before covering. The goal is a closed, moist environment. A loose lid lets steam escape and the liquid reduces faster than the meat can finish, which concentrates the salt before you want it to.
- Don’t reduce the sauce all the way down in a single unattended pass. Taste every few minutes as it thickens. A sauce reduced too far can’t be rescued — you’d have to add more stock and start the reduction over, diluting the depth you just built.
- Serve the ribs bone-in on the plate. The bone holds the meat in shape and signals clearly what the diner is eating. You can pull it at the table if needed — but serve it intact.
Can I use boneless short ribs instead?
You can, but you’ll lose something in the process. The bone contributes gelatin to the braising liquid, which gives the sauce its natural body and coating texture without any thickeners. Boneless ribs are also more prone to drying out over a long braise. If that’s what you have, start checking for doneness at the two-hour-forty-five-minute mark.
How far in advance can I make this?
Up to three days ahead, refrigerated. Day-two short ribs are noticeably better than same-day: the fat solidifies overnight and lifts off cleanly in one piece, and the sauce continues to concentrate and deepen as it sits. Reheat covered in a low oven at 300°F until warmed through, basting occasionally.
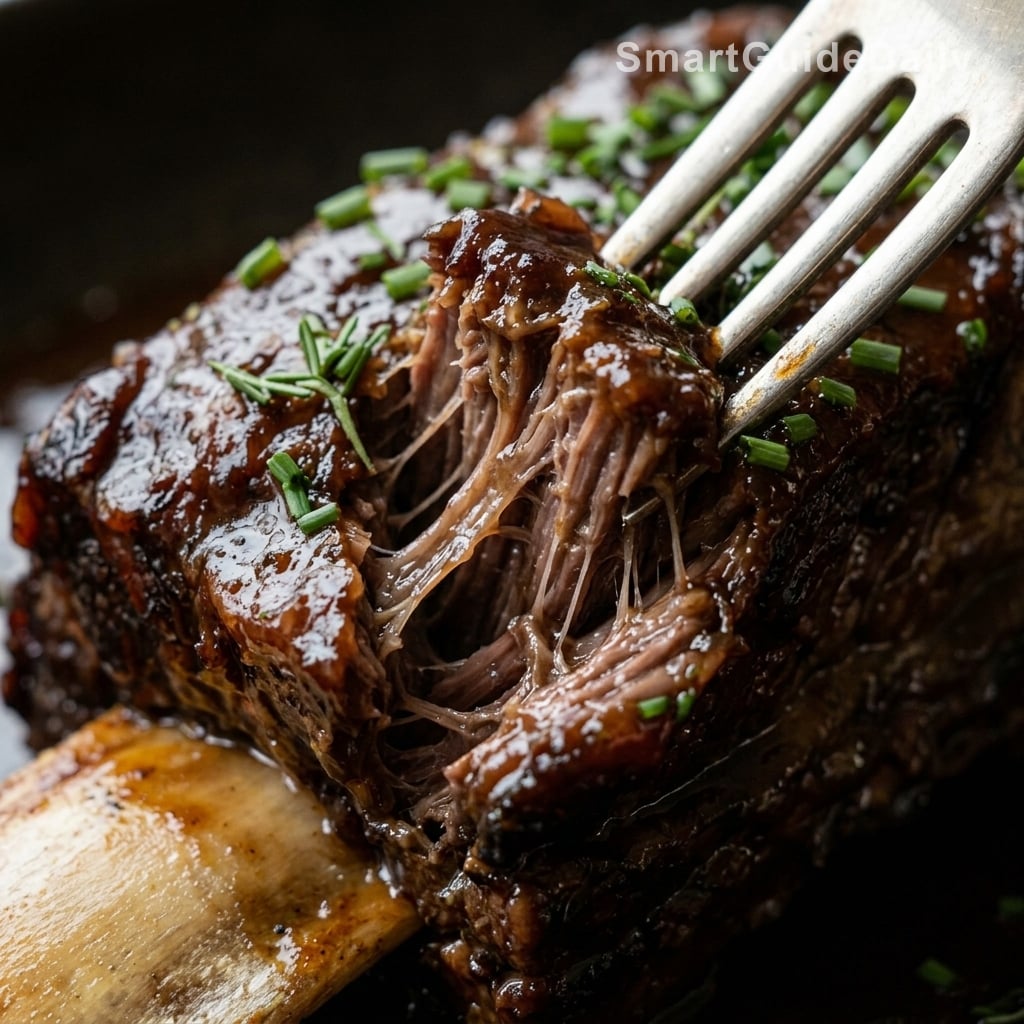
How do I know when the ribs are actually done?
A paring knife should meet zero resistance — not ‘fairly easy’, but none at all. You should also see the meat visibly pulling back from the bone by at least an inch. If you’re uncertain, give it thirty more minutes. Overcooked braised short ribs remain structurally sound; undercooked ones don’t forgive.
My sauce reduced too far and now tastes overly salty. Can I recover it?
Add a small amount of fresh, unsalted beef stock, return to a simmer, and reduce again more gently this time, tasting every few minutes. It won’t fully replicate a first reduction, but it’s workable. The real fix is to taste during reduction, not just at the end.
What should I serve alongside braised short ribs?
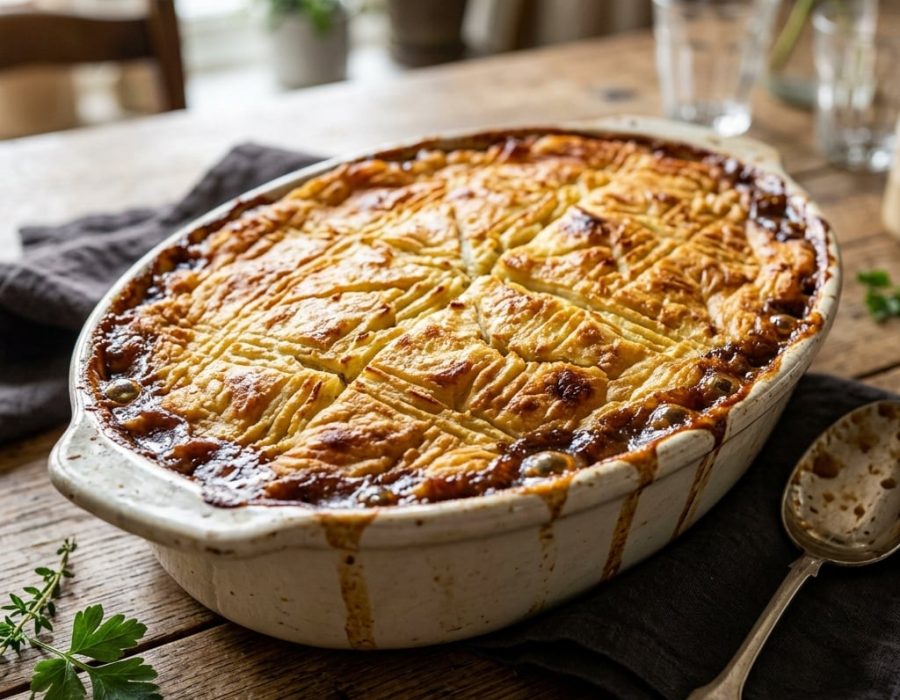
Something that absorbs the sauce without competing with it — smooth mashed potatoes, soft polenta, or steamed white rice all work. Avoid anything starchy and assertive. A plain green vegetable on the side keeps the plate honest.
Can the finished dish be frozen?
Yes. Store ribs and sauce together in an airtight container for up to two months. Thaw overnight in the refrigerator, then reheat low and slow, covered. The texture holds well; the sauce may loosen slightly during thawing and might need a brief reduction in a saucepan before serving.

Braised Short Ribs With Restaurant-Quality Sauce
American
Main Course
|
Prep Time
30 minutes
|
Cook Time
3 hours 30 minutes
|
Total Time
4 hours
|
Servings
4 portions
|
Bone-in beef short ribs braised low and slow until the collagen dissolves into the cooking liquid, which is then strained and reduced into a glossy, coating sauce. The technique is straightforward. The patience is the only real requirement.
Ingredients
- 1.8 kg (4 lbs) bone-in beef short ribs, English cut — 4 thick pieces
- 2 tbsp grapeseed or other neutral high-smoke-point oil
- 1 large yellow onion, roughly chopped
- 2 medium carrots, roughly chopped
- 2 stalks celery, roughly chopped
- 6 cloves garlic, smashed
- 3 tbsp tomato paste
- 1 liter (4 cups) beef stock — good quality, one that gels when cold
- 6 sprigs fresh thyme
- 2 bay leaves
- 1 tsp whole black peppercorns
- to taste kosher salt and freshly ground black pepper
Instructions
- 1The night before (optional but recommended): season the short ribs generously on all sides with kosher salt and black pepper. Refrigerate uncovered overnight. The surface dries out, which produces a significantly better sear.
- 2Preheat the oven to 325°F (165°C).
- 3Heat the oil in a large Dutch oven over high heat until shimmering. Working in batches and without crowding the pan, sear the ribs for 3 minutes per side without moving them, until a deep mahogany crust forms. Set aside.
- 4Reduce heat to medium. Add the onion, carrot, and celery to the same pot. Cook, stirring occasionally, for 7–8 minutes until softened and lightly golden.
- 5Add the garlic and cook for 1 minute. Push the vegetables to the sides, add the tomato paste to the center, and cook undisturbed for 2–3 minutes until the paste shifts from bright red to a darker rust color.
- 6Pour in roughly 1 cup of stock and scrape up all the browned bits from the bottom of the pot with a wooden spoon. Nothing gets left behind.
- 7Add the remaining stock. Return the ribs bone side down — liquid should reach roughly halfway up the meat, not cover it. Add thyme, bay leaves, and peppercorns.
- 8Bring to a gentle simmer. Cover tightly and transfer to the oven. Braise for 3 hours 30 minutes, until the meat is fully tender and visibly pulling away from the bone.
- 9Transfer the ribs carefully to a plate. Strain the braising liquid through a fine-mesh sieve into a wide saucepan, pressing the solids firmly to extract everything. Discard the solids. Skim visible fat from the surface.
- 10Bring the strained liquid to a boil over high heat. Reduce by approximately half, tasting regularly, until the sauce is glossy, coating, and no longer watery. Adjust salt.
- 11Return the ribs to the sauce to reheat. Serve immediately, or refrigerate overnight and reheat the next day — the sauce will be better for it.
Notes
• For the cleanest result, make the dish a day ahead. The fat solidifies overnight and lifts off in a single piece, leaving a clear, concentrated sauce underneath.
• Stock quality is sauce quality. A stock that stays liquid when cold has little gelatin and will produce a thin sauce no matter how long you reduce it.
• 325°F is the ceiling for the braise, not the floor. Higher temperatures tighten the muscle fibers before the collagen has time to break down. The result is tough, stringy meat in a greasy liquid.
• Serve bone-in. The bone holds the meat together on the plate. Pull it at the table if you must, but don’t remove it in the kitchen.
Nutrition Facts (per serving, estimated)
| 680 kcalCalories | 44gProtein | 9gCarbs | 50gFat |