|
Prep Time
30 minutes
|
Cook Time
4 hours 30 minutes
|
Total Time
5 hours
|
Servings
6 portions
|
How many briskets have you pulled from the oven — certain this time would be different — and watched it shred into dry, fibrous slabs under the knife? The problem isn’t your oven. It isn’t your broth or your timing, exactly. It’s a sequence of small decisions that compounds, each one nudging the meat a little further away from the result you wanted.
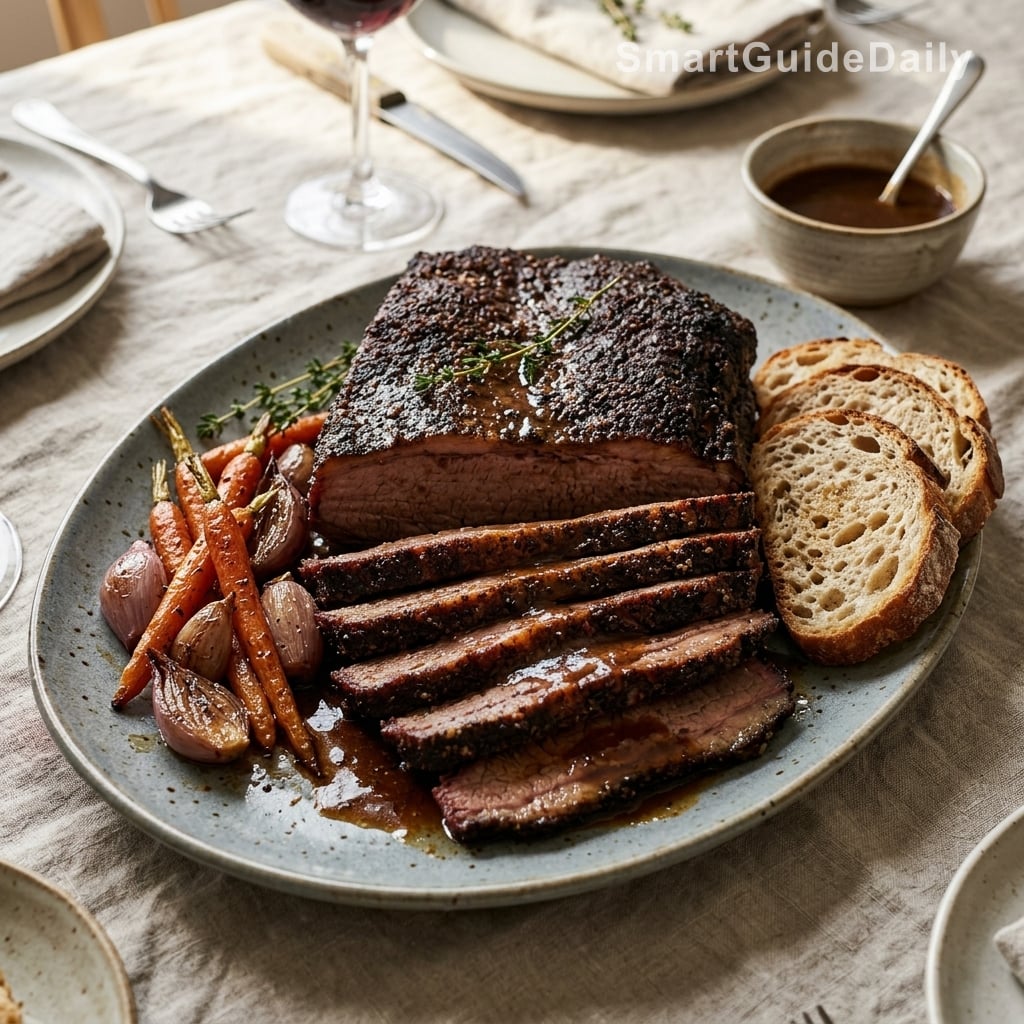
Brisket done right has a particular give to it. The knife slides through with almost no resistance, and each slice holds its shape while staying visibly wet along the cut face — not sauced, not steamed into submission, but genuinely moist at the fiber level. That texture doesn’t happen by accident. It’s the result of the right cut, enough fat left on, a low enough temperature, and — critically — enough rest before a single slice is made.
Why you’ll love this recipe
Ingredient Notes
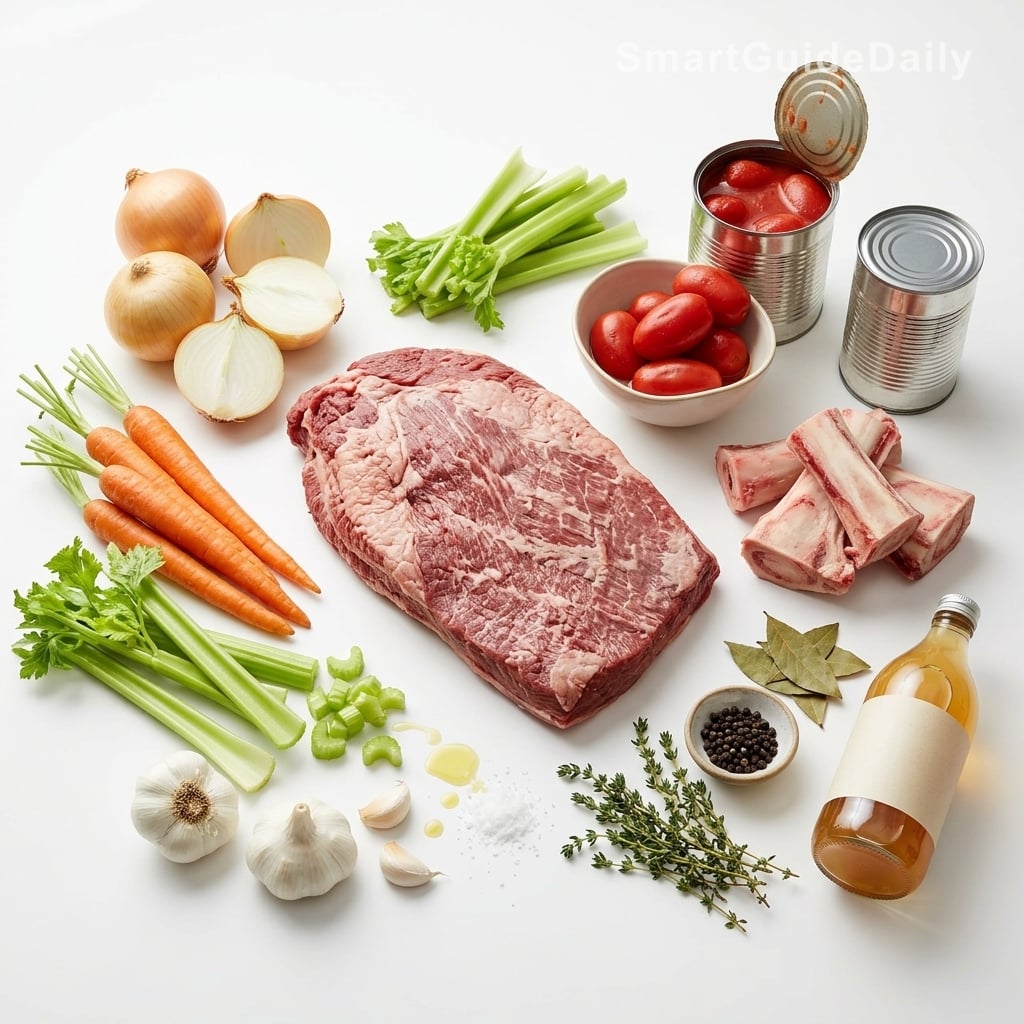
Everything the brisket needs — and nothing it doesn’t.
- Beef brisket, flat cut (2–2.5 kg) : The flat cut is leaner and more uniform than the point, which makes it easier to slice cleanly. Leave the fat cap on — at least a quarter-inch layer. It bastes the meat from above throughout the braise and keeps the surface from drying where the liquid doesn’t reach. Trim it after cooking if you want, not before.
- Beef broth (500 ml) : Use a proper broth — reduced, gelatinous when cold — not a pale, watery stock. The braise needs body. If your broth is thin, add a tablespoon of tomato paste when you soften the onions. It won’t taste of tomato, but it will add the depth that a weak broth lacks.
- Canned whole tomatoes (400 g) : Whole peeled tomatoes, crushed by hand into the pot. They break down over the long braise into the sauce base and provide enough acidity to balance the richness of the fat. San Marzano or any good Italian-style tomato works here. Avoid diced — they stay too intact.
- Apple cider vinegar (2 tablespoons) : This replaces the wine that most classic brisket recipes call for. It adds acidity and a faint fruitiness without the alcohol. Add it when you deglaze the pan after searing — it lifts the fond and integrates into the braise completely. You won’t taste it in the finished dish.
- Onions, carrots, celery (the standard trio) : Cut them coarse. They’re not going to be served — they’re there to flavor the braise and provide body to the sauce. If you cut them fine, they dissolve completely and can make the sauce slightly muddy. Rough chunks hold together better and strain out cleanly.
- Fresh thyme, bay leaves, black peppercorns : Tie the thyme and bay leaves with kitchen twine if you want easier retrieval, or add them loose and strain later. The peppercorns add a low background heat that you notice more as the dish cools on the plate — not as spice, exactly, but as a faint warmth that keeps the sauce from tasting flat.
Start With the Right Cut — It’s Not Interchangeable
Brisket is not a single cut. The full packer brisket has two muscles: the flat (also called the first cut) and the point (the second cut). They behave differently. The flat is leaner, more uniform, and slices cleanly when braised correctly. The point is fattier, richer, and better suited to long smokes where the intramuscular fat can render over twelve or more hours. In a braise at 150°C, the point tends to fall apart rather than slice — which may be what you want, but it isn’t moist, even slices. Ask your butcher for the flat specifically. A piece between two and two and a half kilograms is the right size for six people — enough to slice generously without having so much meat that the braising liquid can’t do its job.
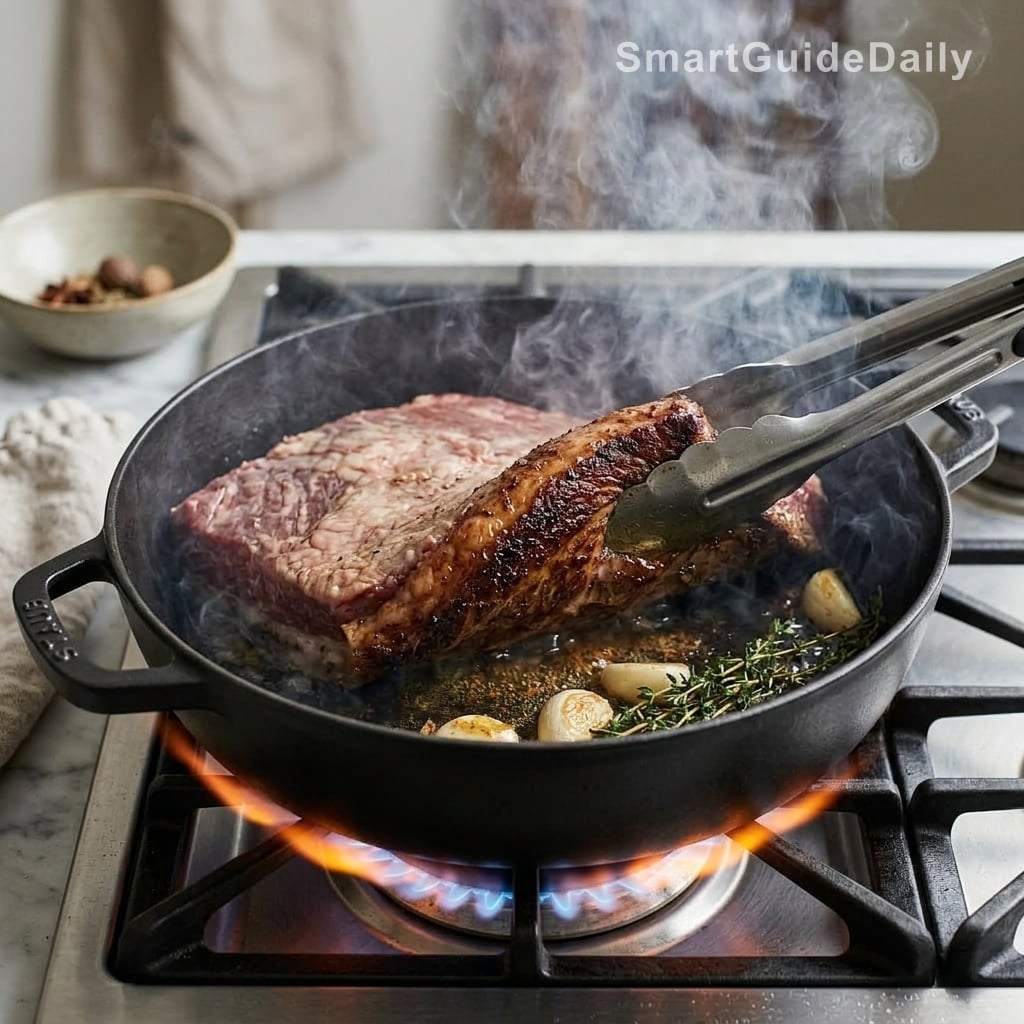
Sear Until It Releases — Don’t Force It
Pat the brisket completely dry before it goes near heat. Any surface moisture turns to steam in the pan and prevents browning — and the browning matters, because it’s where most of the flavor in the final sauce comes from. Season aggressively with salt and black pepper, then place it fat-side down in a lightly oiled Dutch oven over high heat. Leave it alone. The meat will stick at first, then release cleanly when the crust has formed — usually five to seven minutes per side. The fat side should be a deep amber, almost mahogany, with some caramelization at the edges. If it’s pale gold, it hasn’t gone far enough. After searing, remove the brisket and soften the onions, carrots, and celery in the same pot, scraping up the fond. Deglaze with the apple cider vinegar, add the tomatoes and broth, return the meat, and bring to a bare simmer before covering.
Set the Oven to 150°C and Commit to It
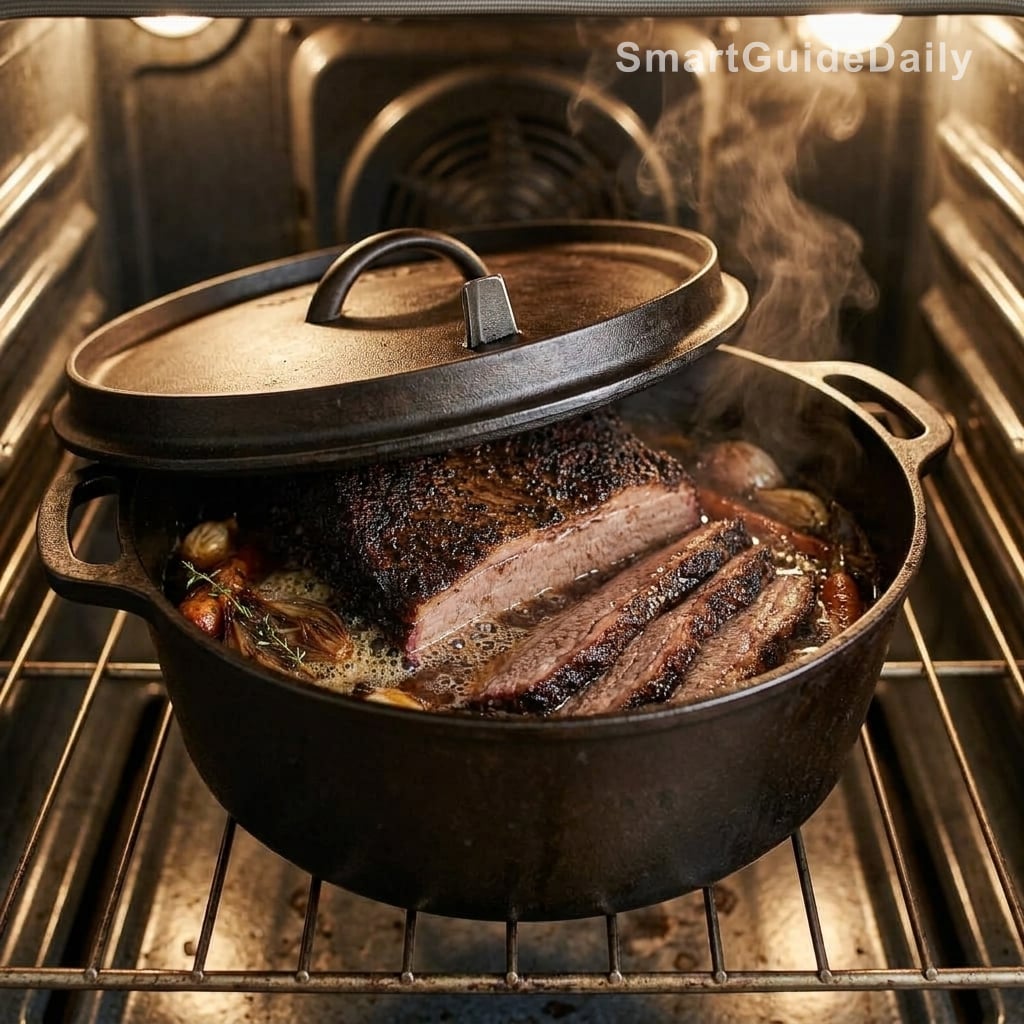
Four and a half hours at 150°C, covered. That’s the instruction. The temptation to turn the heat up — to compensate for lost time, to check whether it’s done — is almost always what ruins brisket. Collagen begins converting to gelatin at around 70°C, but that conversion needs time as much as it needs temperature. Push the heat, and the exterior of the meat dries out faster than the collagen can transform. At 150°C, the braise stays at a steady, gentle simmer and the collagen works on its own schedule. Check once at the three-hour mark to make sure the liquid hasn’t reduced too much — there should be about two centimeters of liquid in the pot throughout. Add a splash of broth if it looks low. Otherwise: lid back on, walk away.
Rest It for at Least 30 Minutes — Ideally Overnight
The brisket is done when a skewer or thin knife passes through the thickest part with almost no resistance — not zero resistance, but the kind of give you’d feel pushing through firm butter rather than raw meat. Remove it from the oven and let it rest, still in its braising liquid, uncovered, for a minimum of thirty minutes before slicing. If you’re making it the day before, cool it fully in the liquid, refrigerate it overnight, and reheat it covered at 140°C for forty-five minutes the next day. The resting period isn’t about temperature redistribution the way it is with a steak. It’s about allowing the muscle fibers — which have been under tension from the heat — to reabsorb some of the liquid they expelled during cooking. Cut into it too soon and that liquid runs onto the board instead of staying in the meat.
Slice Against the Grain, With Confidence
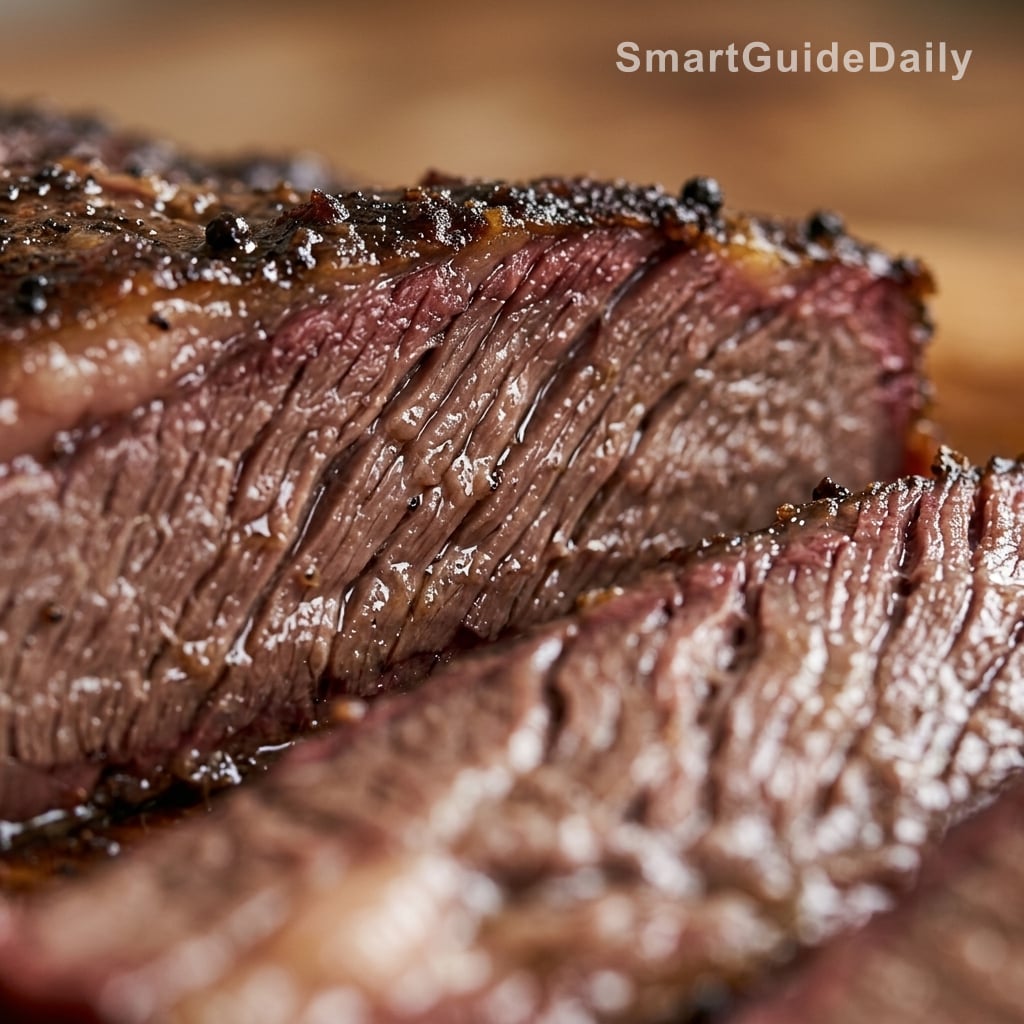
Before you slice, look at the brisket and find the direction of the muscle fibers — they run lengthwise through the flat, visibly parallel. You want to cut perpendicular to those fibers, not parallel. Slicing with the grain produces long, chewy strands. Against the grain, the fibers are short and the texture is tender. Use a sharp slicing knife and cut at a slight bias, about a centimeter thick. The slices should hold together cleanly and glisten along the cut face without being wet to the touch. Strain the braising liquid into a small saucepan, skim off the rendered fat with a ladle, and reduce it by about a third over medium heat until it coats a spoon lightly. That’s your sauce. Pour it over the slices just before serving, not before.
Tips & Tricks
- Don’t trim the fat cap before braising — it’s a basting layer, not waste. You can remove it after the braise if you want, when it’s soft and easy to peel away cleanly.
- If the braising sauce tastes flat after reducing, it needs acid before it needs salt. A teaspoon of apple cider vinegar stirred in at the end will bring everything into focus.
- Refrigerating the brisket overnight in its liquid does something the same-day version can’t replicate: the fat solidifies on the surface and lifts off in one clean layer, leaving a sauce that is leaner and more transparent in flavor.
- Slice only what you’re serving. The unsliced portion keeps far better — wrapped tightly and refrigerated in the braising liquid, it holds for three days without any meaningful loss of texture.
Can I make this brisket the day before serving?
Yes — and you should. Brisket braised and refrigerated overnight in its cooking liquid is measurably better than brisket served the same day. The fibers continue to relax, the fat solidifies and lifts off cleanly, and the braising sauce tightens in flavor. Reheat it covered at 140°C for 45 minutes, sliced or whole, with the liquid spooned over.
What’s the difference between the flat cut and the point cut?
The flat (first cut) is the leaner, more uniform muscle — it slices cleanly and holds its shape when braised. The point (second cut) is fattier and more marbled, which makes it well-suited to long low-temperature smoking but prone to falling apart in a braise. For this recipe, the flat is the right choice.
Why is my brisket dry even after four or more hours in the oven?
Two likely causes: the temperature was too high, or the lid seal was poor. At anything above 160°C, the exterior of the meat dries out faster than the collagen can convert to gelatin, and no amount of braising liquid will reverse that. Check your lid — a gap of even a centimeter lets enough steam escape to affect the final texture significantly.
Can I use a slow cooker instead of a Dutch oven in the oven?
You can, but the sear has to happen in a separate pan first — do not skip it. Set the slow cooker to low for eight to nine hours. The result will be slightly more yielding than the oven version, closer to pulled than sliced, which may or may not be what you want. For clean slices, the oven method gives better control.
How long does leftover brisket keep, and how should I store it?
Up to four days, refrigerated in its braising liquid in a sealed container. The liquid acts as a protective layer — keep the slices submerged. Reheat gently in a covered pan with a few tablespoons of the liquid over low heat; the microwave works but dries the edges. The brisket also freezes well for up to three months in the liquid.
How thick should the slices be?
About one centimeter — slightly thicker than a standard deli slice, thinner than a steak. Too thin and the slices are fragile and cool quickly on the plate. Too thick and the shorter fibers that make braised brisket tender become a liability — they need to be cut short enough to yield easily under the fork. Slice against the grain without exception.
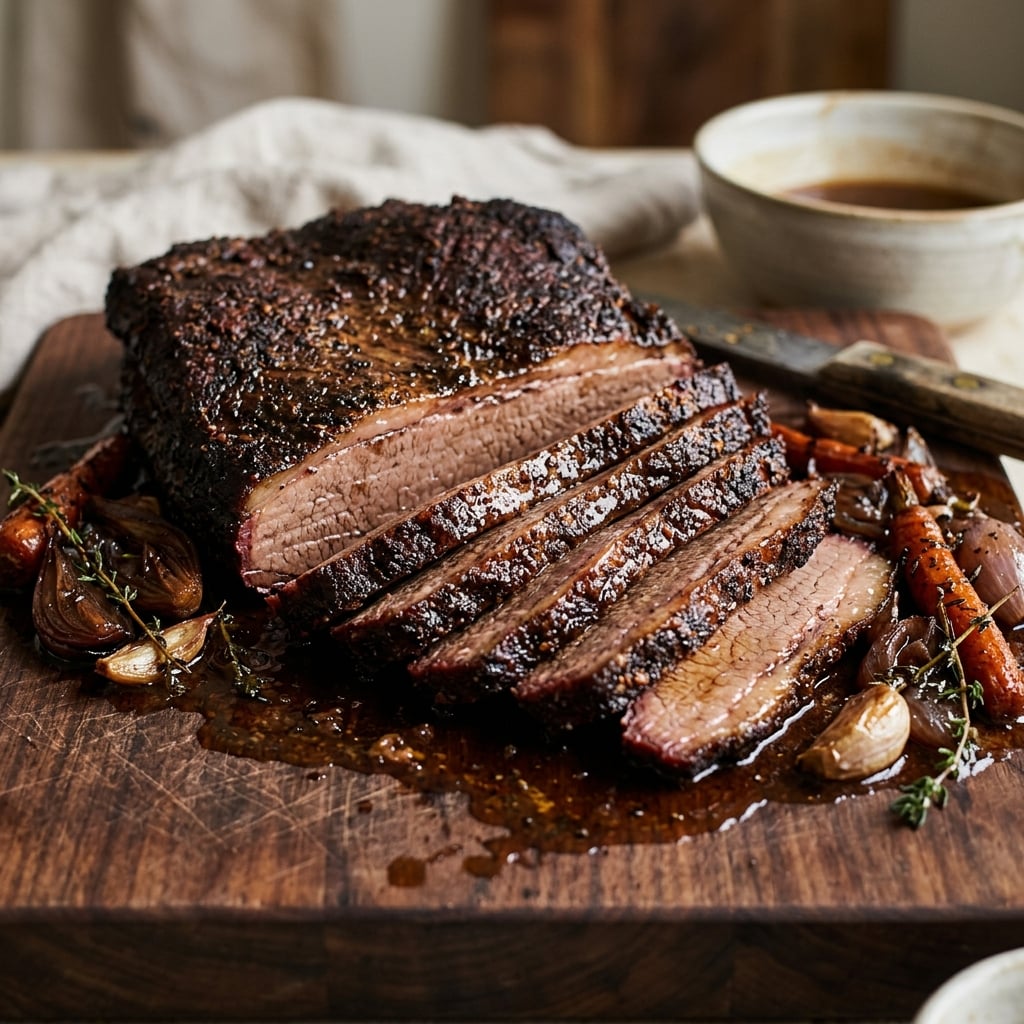
Brisket That Slices Moist Instead of Dry
American
Mains
|
Prep Time
30 minutes
|
Cook Time
4 hours 30 minutes
|
Total Time
5 hours
|
Servings
6 portions
|
A low-and-slow braised beef brisket that holds together under the knife, stays moist at the fiber level, and produces its own sauce in the process. Better made the day before.
Ingredients
- 2.2 kg beef brisket, flat cut, fat cap on
- 2 tbsp neutral oil
- 2 tsp kosher salt
- 1 tsp coarsely ground black pepper
- 3 medium onions, roughly chopped
- 3 medium carrots, roughly chopped
- 3 stalks celery, roughly chopped
- 6 cloves garlic, smashed
- 2 tbsp apple cider vinegar
- 400 g canned whole tomatoes, hand-crushed
- 500 ml beef broth, full-bodied
- 6 sprigs fresh thyme
- 3 bay leaves
- 1 tsp whole black peppercorns
Instructions
- 1Preheat the oven to 150°C (300°F). Pat the brisket completely dry with paper towels and season all over with salt and pepper.
- 2Heat the oil in a large Dutch oven over high heat. Place the brisket fat-side down and sear without moving it for 5–7 minutes, until a deep mahogany crust has formed. Flip and sear the other side for 4–5 minutes. Remove and set aside.
- 3Reduce the heat to medium. Add the onions, carrots, and celery to the same pot and cook for 5–6 minutes, scraping up the fond from the base. Add the garlic and cook for 1 minute more.
- 4Pour in the apple cider vinegar and stir to deglaze. Add the crushed tomatoes, beef broth, thyme sprigs, bay leaves, and peppercorns. Stir to combine.
- 5Return the brisket to the pot fat-side up — it should be partially submerged with the fat cap above the liquid. Bring to a bare simmer.
- 6Cover tightly and transfer to the oven. Braise for 4 hours 30 minutes. Check once at the 3-hour mark: there should be at least 2 cm of liquid in the pot. Add a splash of broth if it looks low.
- 7Test doneness by pressing a skewer through the thickest part — it should pass through with minimal resistance, like firm butter. If there is still notable push-back, return the pot to the oven for 30 minutes.
- 8Remove from the oven and rest the brisket in the liquid, uncovered, for at least 30 minutes before slicing.
- 9Transfer the brisket to a cutting board. Strain the braising liquid through a fine-mesh sieve into a small saucepan, pressing the vegetables lightly. Skim the surface fat with a ladle, then reduce the liquid over medium heat by one-third, until it coats a spoon.
- 10Identify the direction of the muscle grain. Slice the brisket against the grain, at a slight bias, approximately 1 cm thick. Arrange on a platter and spoon the reduced sauce over just before serving.
Notes
• For best results, braise the day before. Cool the brisket completely in the liquid, refrigerate overnight, then reheat covered at 140°C for 45 minutes. The fat will solidify overnight and can be lifted off in one layer before reheating.
• Do not trim the fat cap before braising — it self-bastes the meat from above throughout the cook. Remove it after, once it peels away cleanly.
• If the reduced sauce tastes flat, stir in half a teaspoon of apple cider vinegar before serving. It needs acid before it needs more salt.
• Leftovers keep for up to 4 days refrigerated in their liquid. Freeze in the liquid for up to 3 months.
Nutrition Facts (per serving, estimated)
| 485 kcalCalories | 43 gProtein | 9 gCarbs | 29 gFat |