The sound that tells you it’s working — a clean, sharp crack as the knife moves through the top layer of pastry — only happens when everything before that moment was handled correctly. Most mille-feuilles don’t make that sound. They compress, or slide, or shatter in the wrong direction. This recipe is about fixing that.
When the pastry comes out of the oven for the second time, the kitchen smells like a bakery that knows what it’s doing: deep caramel, warm butter, something almost nutty. The sheets are flat and deeply golden, not puffed and irregular. That flatness is intentional — and it’s what makes the rest of the process manageable. Run a finger along the edge of a cooled sheet and you’ll feel the difference between properly weighted pastry and the kind that baked loose: one is even and rigid, the other is a liability.
Why you’ll love this recipe
Ingredient Notes
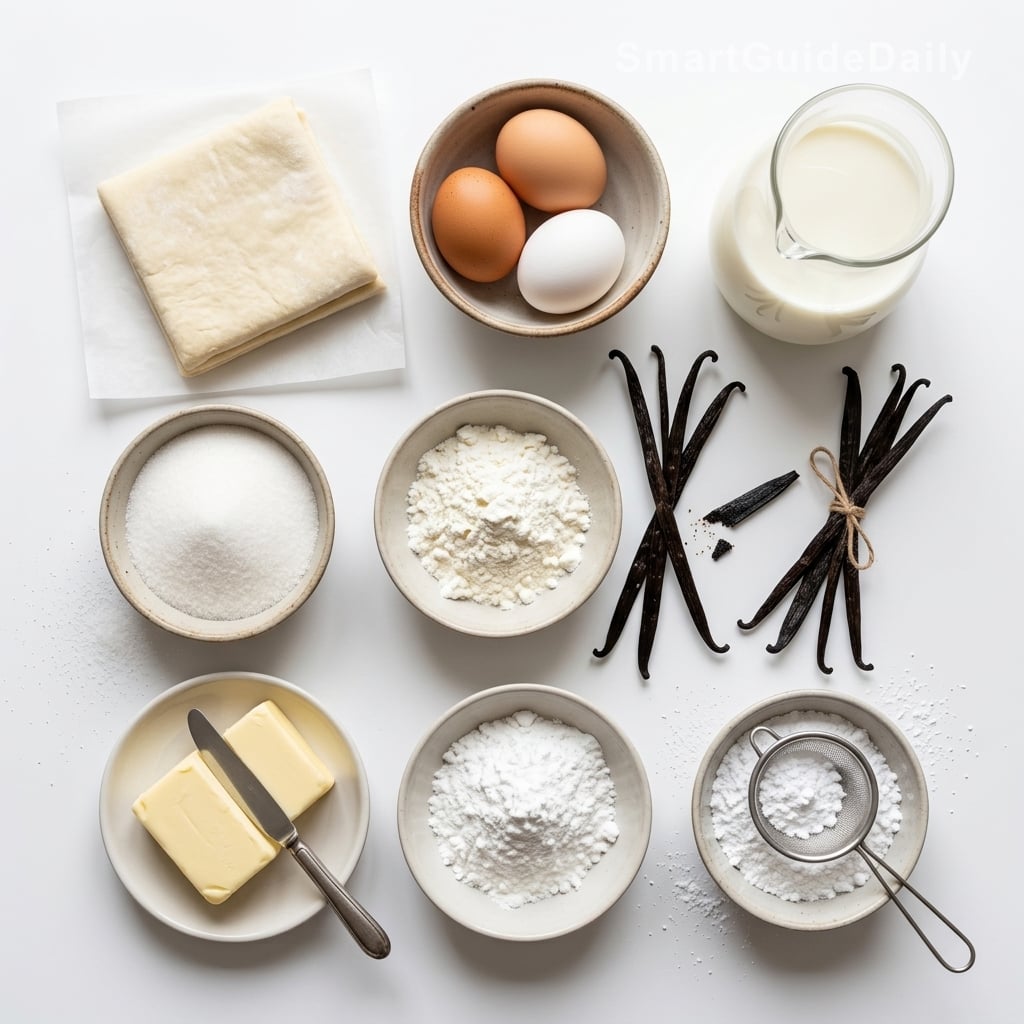
Puff pastry, whole milk, vanilla, eggs, cornstarch, sugar: nothing extraneous.
- All-butter puff pastry : Store-bought works, provided it’s made with butter and not shortening. The fat content determines how the layers laminate and caramelize. Check the ingredient list before you buy; margarine-based pastry produces a greasy, soft sheet that won’t hold structure.
- Whole milk (500ml) : Full-fat only. The fat is not incidental — it contributes to the cream’s body and the way it sets under refrigeration. Reduced-fat milk produces a thinner cream that doesn’t hold its shape at room temperature.
- Egg yolks (4) : The yolks provide lecithin, which emulsifies fat into the liquid base. Four yolks per 500ml of milk is the standard ratio. Fewer and the cream is loose; more and it tastes eggy in a way that competes with the vanilla.
- Cornstarch (40g) : The stabilizer. At 8% of milk weight, the cream sets firm enough to slice cleanly but doesn’t turn gummy. Measure it — estimating by eye is how you end up with something that bounces off the plate.
- Vanilla pod : Split and scraped directly into the milk before heating. The seeds remain suspended in the finished cream and are visible in the cross-section of the finished slice — which matters when the layers are on display and the whole point is precision.
- Cold unsalted butter (30g, for the cream) : Added off the heat, in small pieces, once the cream has cooked through. It enriches the texture and adds a slight gloss. Adding it while the pan is still on the burner causes the fat to separate rather than incorporate.
Start with flat pastry
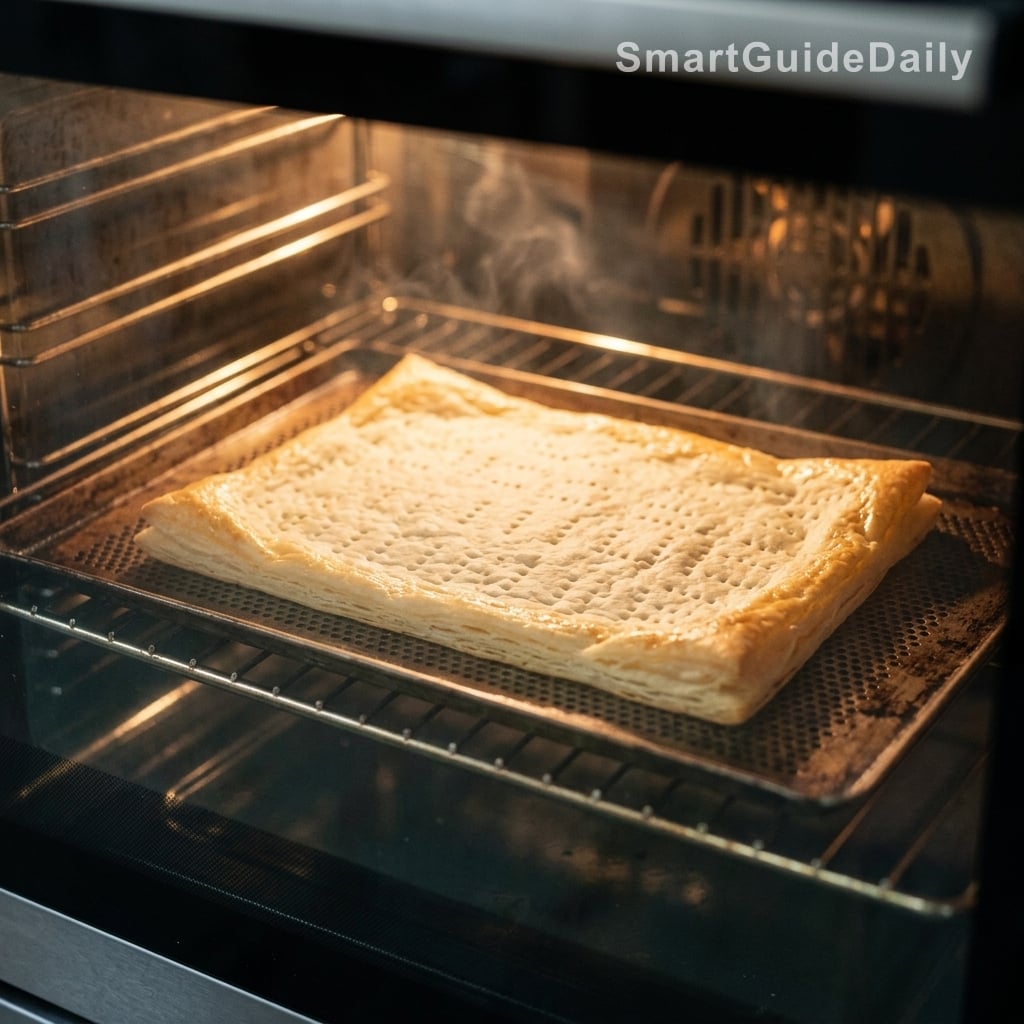
Roll the puff pastry to about 3mm thick and cut three equal rectangles — 10 × 30cm is a practical size, though exact dimensions matter less than consistency between all three sheets. Dock the surface thoroughly with a fork, every centimeter or so. This is not optional: undocked pastry rises unevenly and the layers buckle under the weight of the cream. Place the sheets on parchment over a baking tray, cover with a second sheet of parchment, and weight them down with another tray. Bake at 200°C (fan) for 18 minutes, then remove the top tray and parchment, dust the surface lightly with powdered sugar, and return the sheets to the oven for another 5 to 7 minutes until deeply golden and caramelized. The second bake finishes the lamination and gives the pastry the structural rigidity it needs to support the cream without softening over time. Cool completely on a wire rack — completely, meaning room temperature throughout, not just on the surface.
Getting the cream right
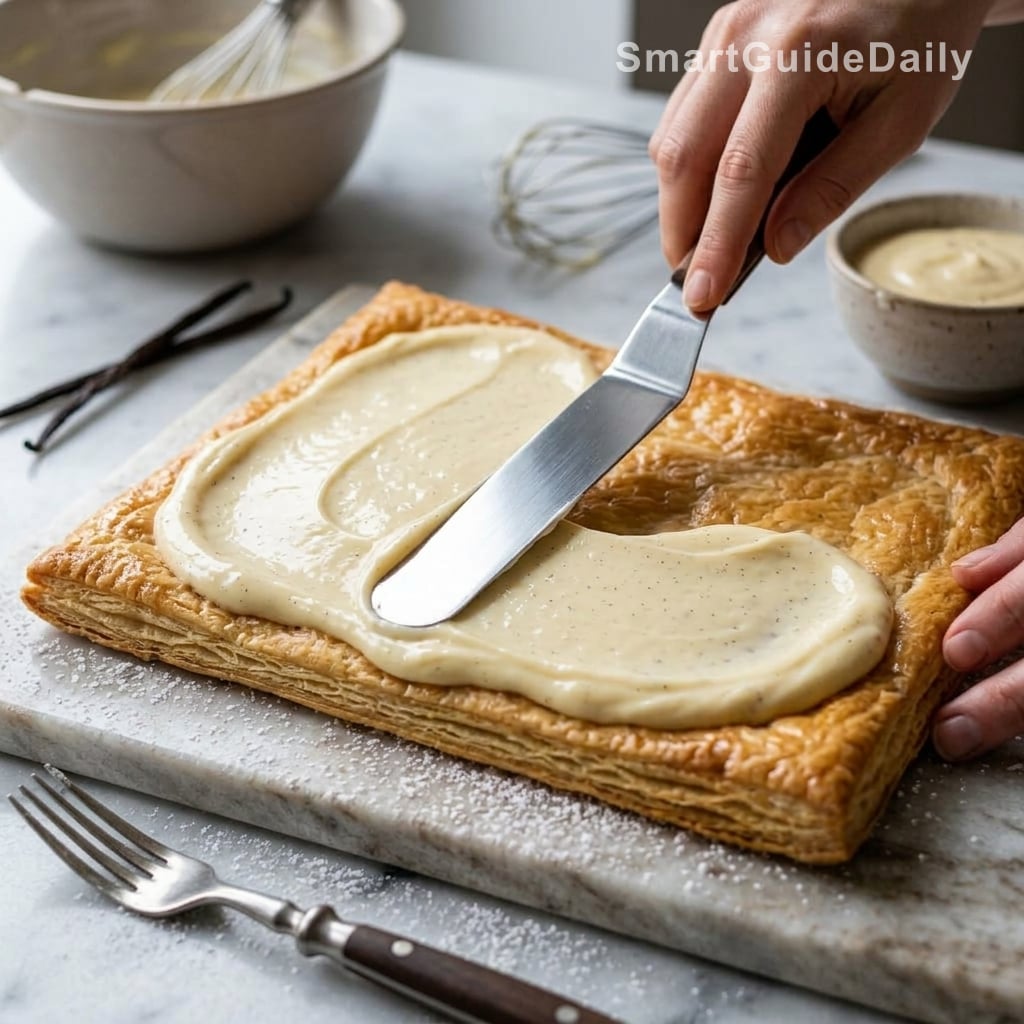
Whisk the egg yolks with the sugar until the mixture goes pale, then whisk in the cornstarch until smooth. Heat the milk with the split vanilla pod to just below a simmer — small bubbles at the edges, not a rolling boil. Pour roughly a third of the hot milk over the egg mixture while whisking constantly, then return everything to the saucepan. Cook over medium heat, whisking without stopping, until the cream thickens and begins to bubble at the center. That first bubble is significant: it means the starch has fully gelatinized and the cream will set correctly. Continue for exactly 90 seconds after that point, then remove from heat and whisk in the cold butter pieces one at a time. The texture at this stage should coat the back of a spoon thickly and hold a clean line when you draw a finger through it. Transfer immediately to a clean bowl, press plastic wrap directly onto the surface, and refrigerate until cold throughout — at minimum two hours, ideally overnight.
Assembly is not casual
Work cold. The cream should come out of the refrigerator and go straight onto the pastry with no warming period. Beat it briefly with a spatula to loosen it — it will be quite firm — then spread a layer approximately 1cm thick over the first pastry sheet, using an offset spatula and a ruler if you want to be precise about it. Set the second pastry sheet on top and press down evenly with a flat board or the back of a baking tray, using gentle, consistent pressure across the entire surface. This seats the layers without cracking the pastry. Repeat with the second cream layer and the final pastry sheet. Refrigerate the assembled mille-feuille for at least two hours before cutting — the cream needs time to re-firm after being worked and pressed.
The cut reveals everything
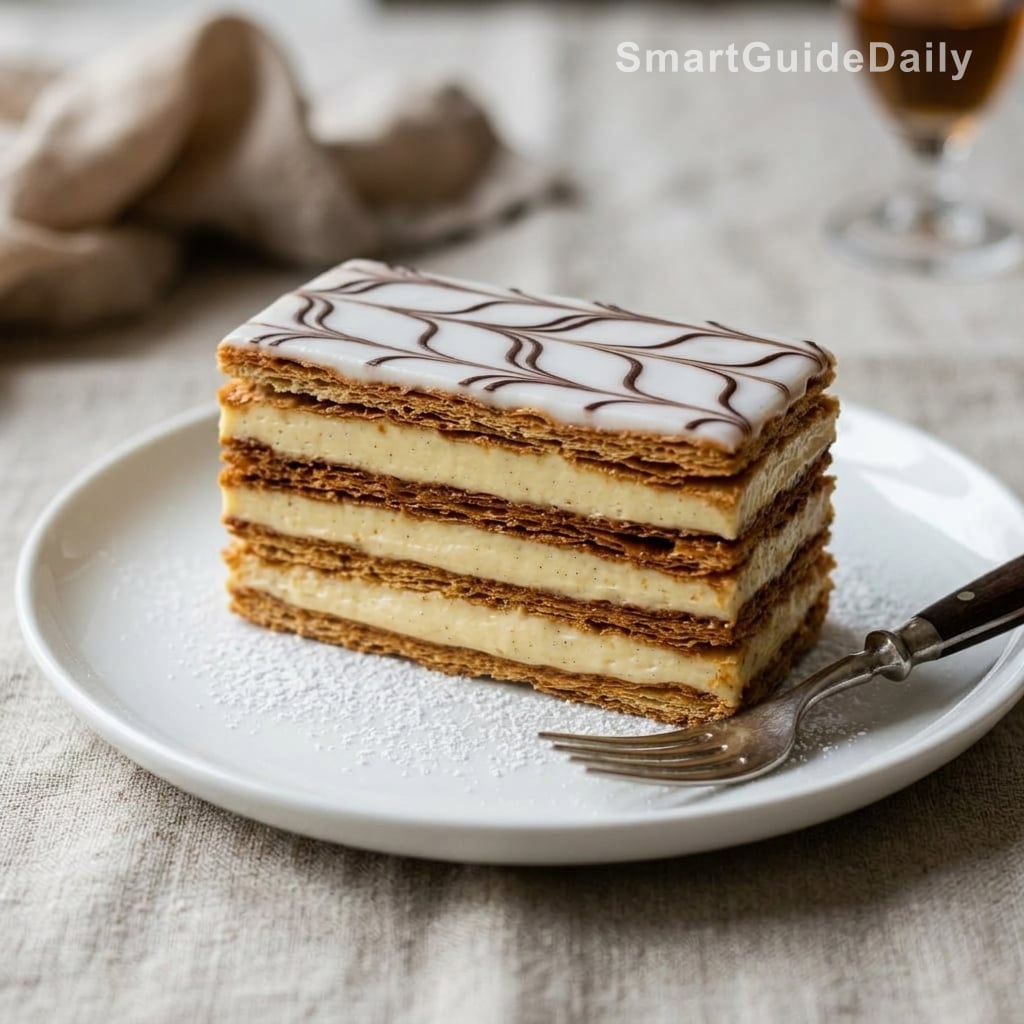
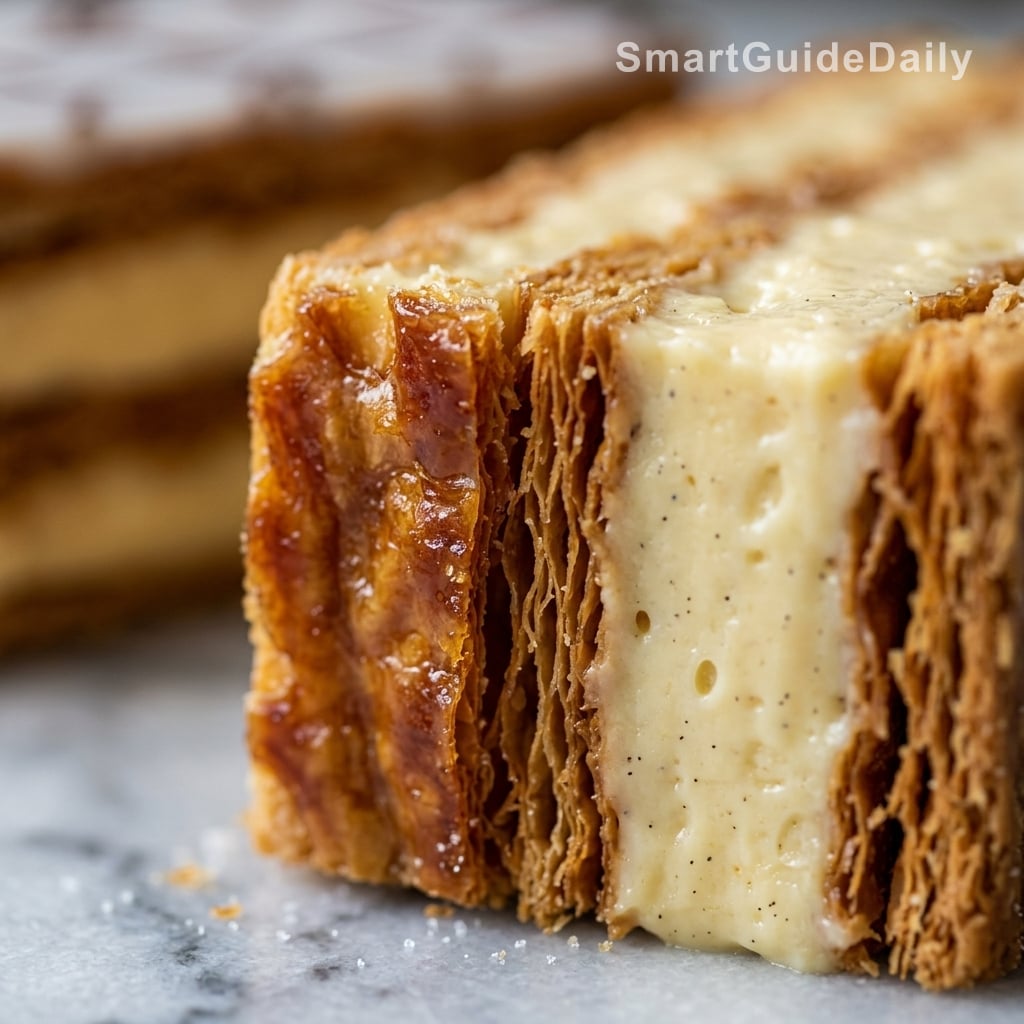
Before cutting, chill a serrated knife in the freezer for ten minutes. The cold blade drags less against the cream and doesn’t compress the layers as it moves through. Use a sawing motion, applying zero downward pressure — let the teeth do the work. A single stroke that compresses the pastry is what produces the ragged, collapsed cross-section you see on most homemade versions. Clean the blade between cuts. Each slice should reveal distinct, flat layers alternating with cream that holds its position without doming or slumping. If the cream is still soft between the layers, it hasn’t chilled long enough. The correct cross-section is geometric: straight edges, even layers, no movement.
Tips & Tricks
- Don’t skip the second bake. It caramelizes the surface and — more importantly — drives out residual moisture that would otherwise soften the layers within an hour of assembly. This is the step most recipes underemphasize, and it’s the difference between pastry that holds for four hours and pastry that holds for one.
- Press plastic wrap directly onto the pastry cream surface while it chills. A skin that forms and then gets mixed back in during spreading creates lumps that are impossible to smooth out once they’re between layers.
- Assemble the mille-feuille the night before you plan to serve it. Eight to twelve hours of refrigeration produces a cleaner cut than two hours, and the cream firms up evenly throughout rather than being set on the outside and slightly soft at the center.
- If you’re applying a fondant glaze, do it while the assembled mille-feuille is cold but before the final long chill — not after. Fondant applied to a fully cold surface sets too fast to feather cleanly, and you lose the window for the marbled finish entirely.
Can I use store-bought puff pastry?
Yes, provided it’s made entirely with butter — read the ingredient list before you buy. Margarine-based pastry softens quickly once filled and doesn’t caramelize properly during the second bake. A 500g block gives you enough for three sheets with minimal waste.
My pastry cream turned lumpy. What went wrong?
Either the hot milk was added too fast, scrambling the yolks before they had time to temper, or the cream wasn’t whisked continuously once it returned to the heat. If you catch lumps while the cream is still hot, push it through a fine-mesh sieve immediately — the starch structure hasn’t fully set yet, so it’s still recoverable at that stage.
Why did my layers slide when I cut?
The cream was too soft at the point of cutting — either it hadn’t chilled long enough after assembly, or the cornstarch ratio was too low. At 8% starch by milk weight, the cream should hold a clean edge after two hours in the refrigerator. Overnight chilling is more reliable and produces a markedly cleaner result.
How far ahead can I assemble the mille-feuille?
Up to 24 hours. Beyond that, the pastry begins to absorb moisture from the cream and loses its structural rigidity at the edges. Assemble the day before, refrigerate, and cut no more than 30 minutes before serving.
Can I skip the fondant glaze?
Yes, without consequence. A light dusting of powdered sugar is sufficient and visually clean. The glaze is aesthetic — it doesn’t affect how the layers hold. If you do use fondant, apply it before the final overnight chill so it has time to set evenly.
Why bake the pastry twice?
The first bake, under weight, sets the lamination and drives out most of the moisture. The second bake — once the weight is removed — caramelizes the surface and adds the rigidity the pastry needs to support the cream over time. A single long bake doesn’t produce the same result because the weight suppresses the surface browning throughout.
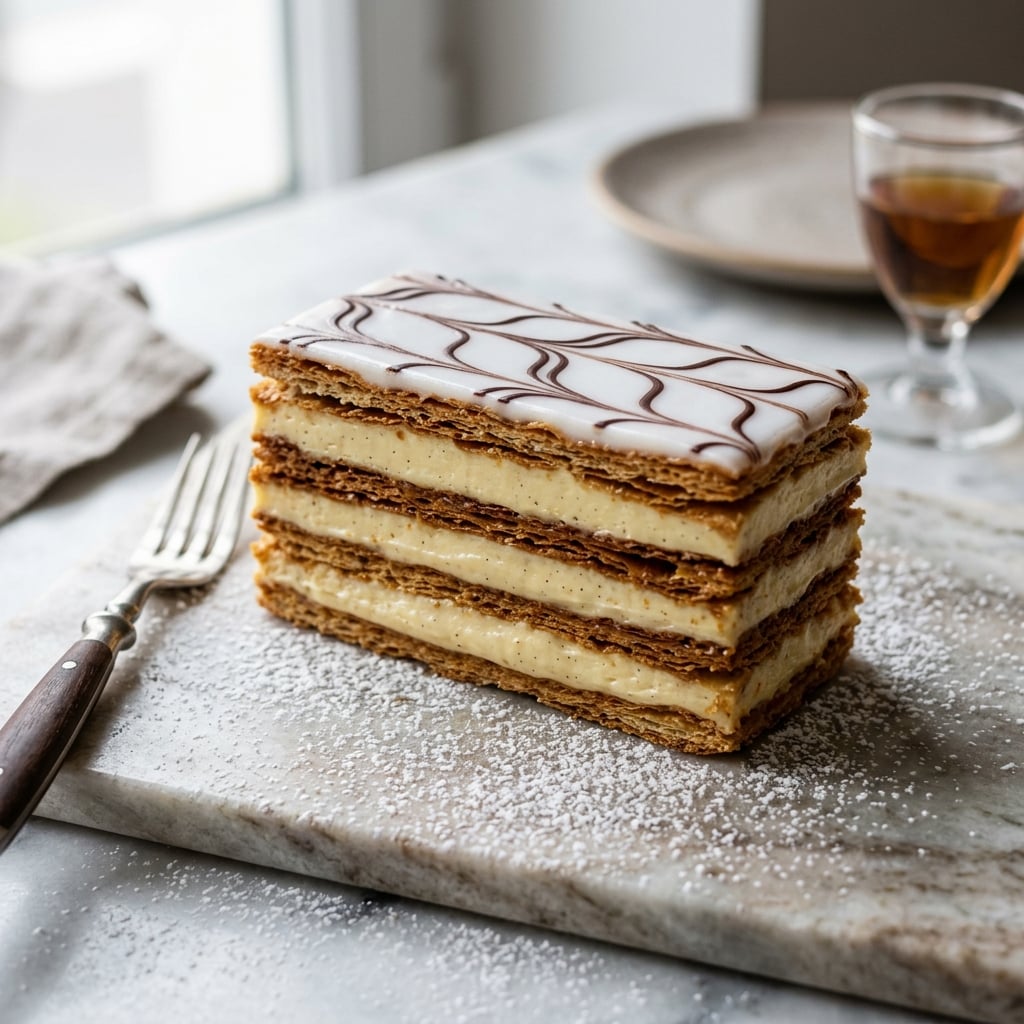
The Mille-Feuille Fix: How to Make Layers That Stay Sharp
French
Dessert
Three sheets of caramelized all-butter puff pastry with vanilla pastry cream, made to hold a clean edge when cut.
Ingredients
- 500g all-butter puff pastry
- 2 tbsp powdered sugar, for the second bake
- 500ml whole milk
- 1 vanilla pod, split and scraped
- 4 egg yolks
- 100g granulated sugar
- 40g cornstarch
- 30g cold unsalted butter, cut into small pieces
- 150g white fondant, for the glaze (optional)
Instructions
- 1Roll puff pastry to 3mm thick. Cut three equal rectangles, approximately 10 × 30cm. Dock each sheet thoroughly with a fork across the entire surface.
- 2Layer each sheet between two sheets of parchment on a baking tray. Weight down with a second heavy tray. Bake at 200°C (fan) for 18 minutes.
- 3Remove the top tray and parchment. Dust the pastry surface lightly with powdered sugar. Return to the oven for 5–7 minutes until deeply golden. Transfer to a wire rack and cool completely.
- 4Whisk egg yolks and granulated sugar until pale. Add the cornstarch and whisk until the mixture is fully smooth.
- 5Heat milk with the vanilla pod and seeds until small bubbles appear at the edges. Remove the pod. Pour one-third of the hot milk over the yolk mixture, whisking constantly to temper.
- 6Return the full mixture to the saucepan over medium heat. Whisk continuously until the cream thickens and the first bubbles appear at the center. Cook exactly 90 seconds more, still whisking.
- 7Remove from heat. Whisk in the cold butter pieces until fully incorporated. Transfer to a clean bowl, press plastic wrap directly onto the surface, and refrigerate for at least 2 hours.
- 8Beat the chilled cream with a spatula to loosen. Spread a 1cm layer over the first pastry sheet using an offset spatula. Top with the second sheet and press down evenly with a flat board.
- 9Spread a second 1cm layer of cream. Set the final pastry sheet on top and press again, evenly across the entire surface. Refrigerate the assembled mille-feuille for at least 2 hours, preferably overnight.
- 10If glazing: warm the fondant to 37°C, apply over the top sheet in one motion, and feather immediately if desired. Return to the refrigerator until fully set.
- 11To cut: chill a serrated knife in the freezer for 10 minutes. Slice using a sawing motion with no downward pressure. Wipe the blade clean between each cut.
Notes
• Weighting the pastry during the first bake is not optional — it controls rise and keeps the sheets flat enough to stack without gaps.
• The cream is ready when it holds a clean line drawn through it with a finger and the line doesn’t fill back in.
• Overnight assembly produces a measurably cleaner cut than the 2-hour minimum. Plan around that if you can.
• Do not substitute reduced-fat milk. The fat content affects both the body of the cream and how it sets under refrigeration.
Nutrition Facts (per serving, estimated)
| 510 kcalCalories | 6gProtein | 52gCarbs | 28gFat |