Most recipes that call themselves tonkotsu-style are making a different soup. The name means something specific — a broth built from bones, boiled hard, until the fat and collagen break apart and recombine into something white, thick, and entirely unlike stock. You can’t rush it. What you can do is understand why it works, which makes the two days feel considerably shorter.
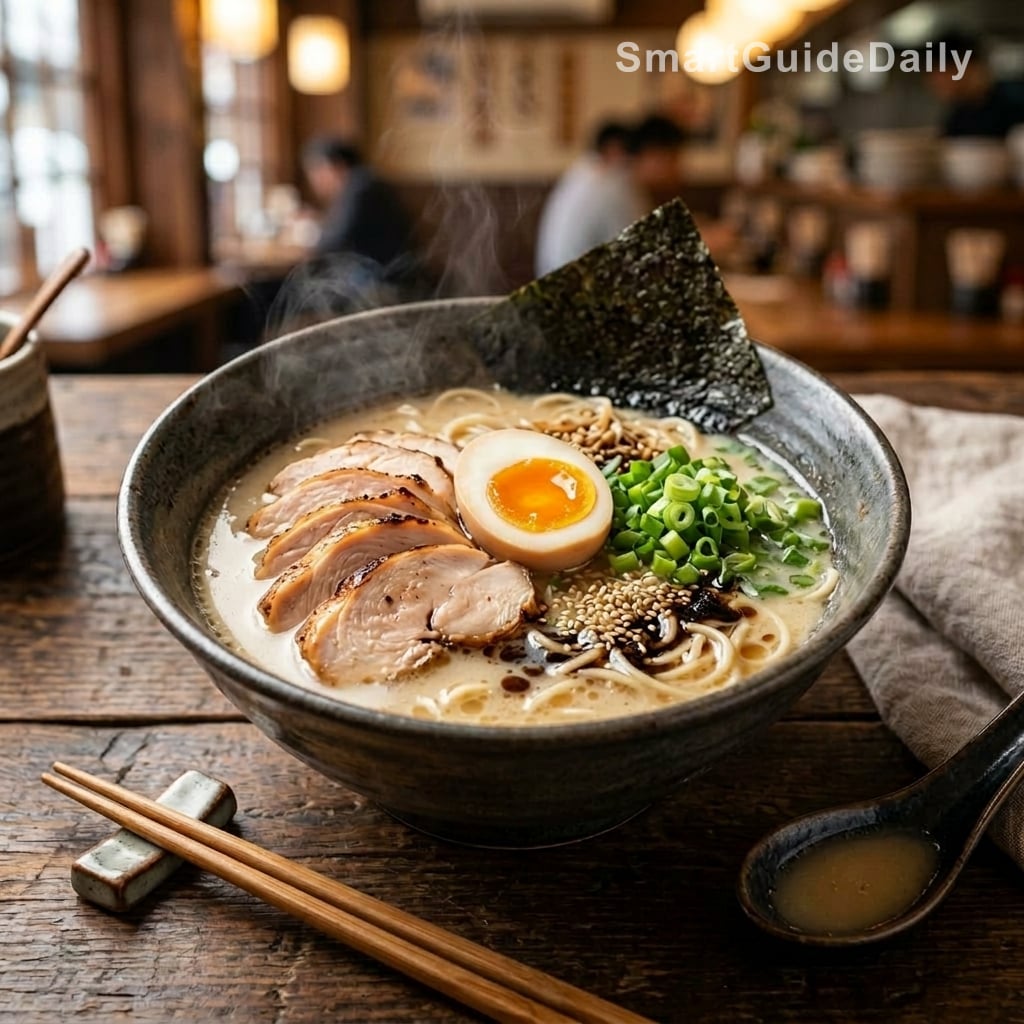
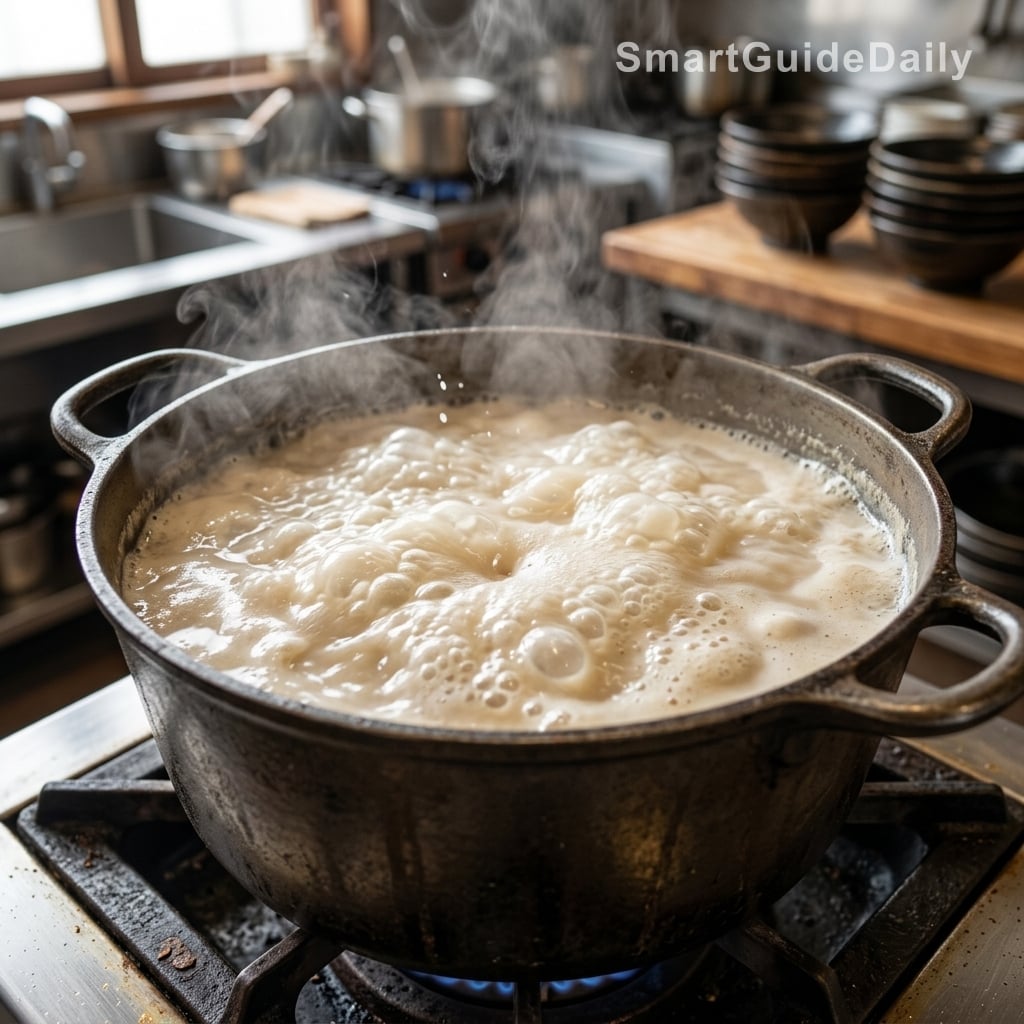
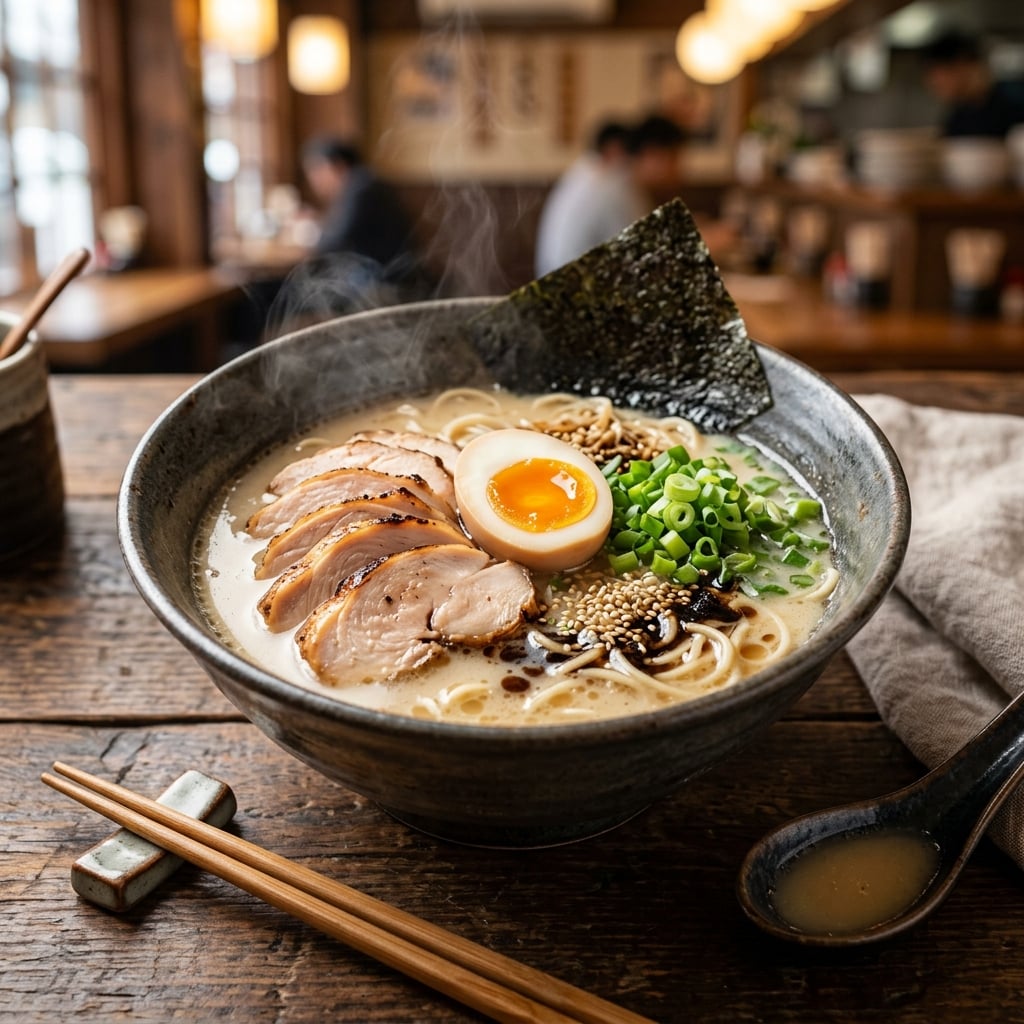
The broth should be opaque. Not cloudy-clear like a stock you forgot to skim — genuinely white, the color of low-fat milk, with a surface that moves slowly under the steam. When you dip a spoon in and hold it up, the liquid should cling for a moment before it falls. That viscosity is the goal, and it comes from one thing: sustained, vigorous boiling of collagen-rich bones over a long period. Every other step in this recipe exists to support that process.
Why you’ll love this recipe
Ingredient Notes
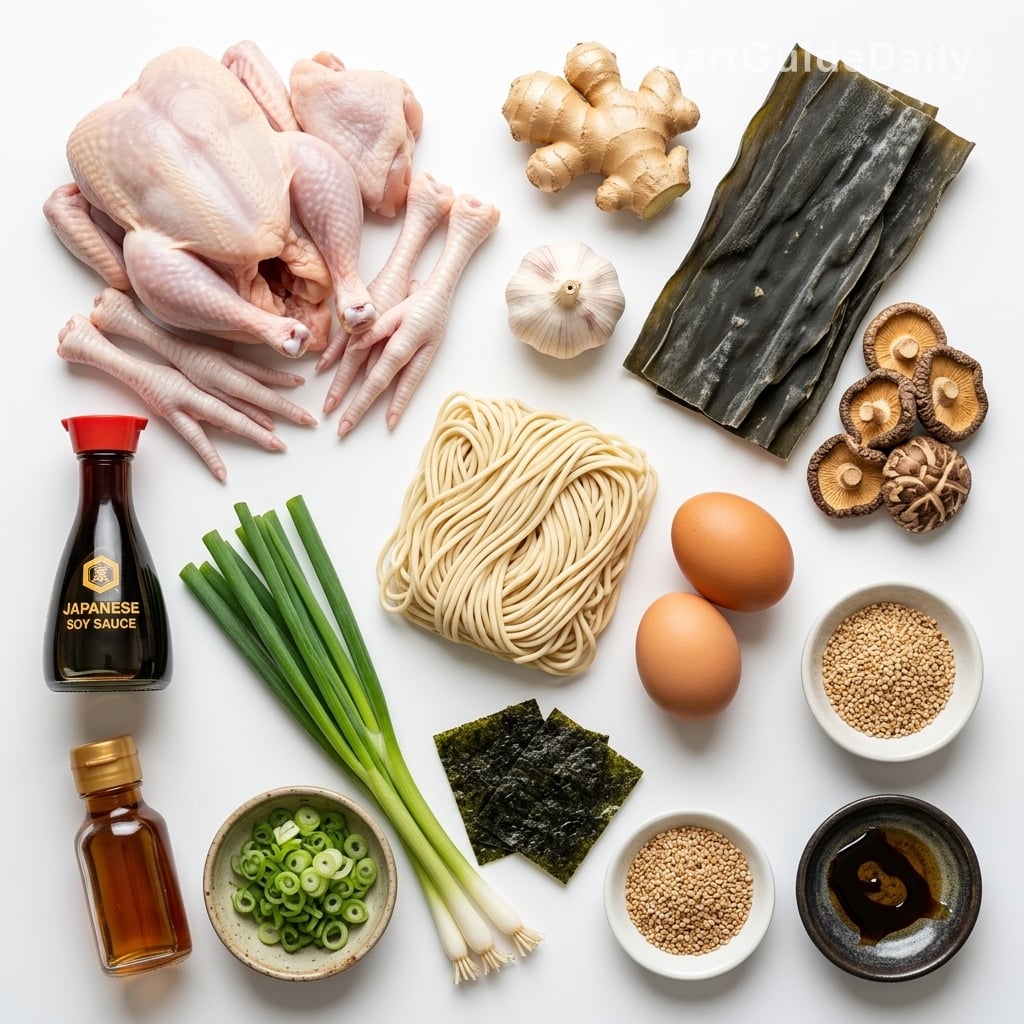
Everything required for tonkotsu-style ramen — the bones do most of the work, but every supporting element pulls its weight.
- Chicken carcasses and chicken feet : The carcasses give body and base flavor; the feet supply the collagen that turns the broth from stock into something heavier. You need at least three pounds of bones total. Butchers tend to have them cheap and without advance notice — worth asking.
- Dried kombu : One piece, roughly hand-sized, added in the last 30 minutes of the second-day simmer. It contributes glutamates — the compound behind that low, persistent savoriness — without making the broth taste of the sea. Remove it before it goes soft and bitter, which happens fast.
- Dried shiitake mushrooms : Two or three mushrooms, added with the kombu. They’re there for glutamate depth, not mushroom flavor. They’ll be unrecognizable by the time you strain the broth. That’s the point.
- Soy tare : The seasoning component that lives separate from the broth: soy sauce, a small amount of sesame oil, a little sugar. Add it to each bowl at assembly, not to the pot. This lets you control salt per portion and keeps the broth unsalted for storage, which matters.
- Ajitsuke tamago (marinated soft-boiled eggs) : Six-minute eggs, peeled, soaked in a mix of soy and water for at least four hours. The whites take on a deep mahogany color; the yolk stays dense and jammy at the center. Start them the morning of day two.
- Fresh ramen noodles : Use fresh if you can find them. If not, the dried straight-wheat noodles at most Asian grocery stores work. The critical rule: cook them separately, cook them just short of done, and transfer directly to the bowl. Do not let them sit in the broth waiting.
The Part Everyone Gets Wrong
Before the long simmer starts, you need to blanch the bones. Put them in a pot, cover with cold water, bring to a boil, and drain immediately. Rinse every piece under cold running water until the water runs clear. This removes the blood, the purple-grey residue, and the proteins that would make the finished broth taste faintly metallic and look brown instead of white. Most shortcut recipes skip it. That is precisely why most shortcut recipes produce a soup that tastes like chicken soup and nothing else. The blanching step takes ten minutes. It is not optional.
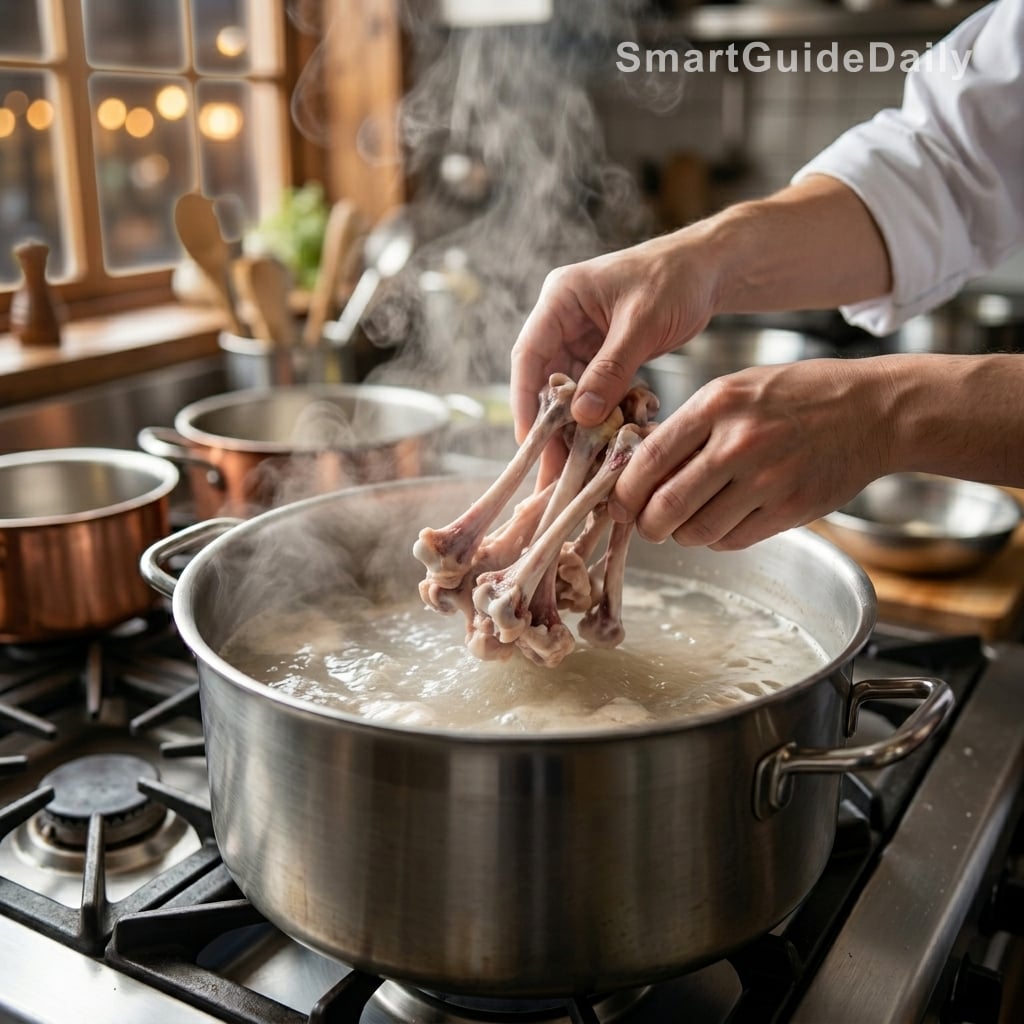
Why the Boil Cannot Be Gentle
Return the blanched bones to a clean pot, cover with fresh cold water, and bring everything to a hard boil. Keep it there. This is the counterintuitive part: classical stock-making says to keep the heat low and the surface still, so fat rises, can be skimmed, and the broth stays clear. Tonkotsu-style broth works by the opposite principle. The vigorous boil breaks fat into microscopic droplets, forces collagen out of the bone matrix, and drives the whole thing into an emulsion. The result is opaque and heavier in the mouth than any gently simmered stock can be.
Lower the heat and you get a different product. A perfectly good product, but not this one.
Boil hard for a minimum of six hours on day one, adding water as needed to keep the bones submerged. The smell in the kitchen will be significant. Open a window.
What the Refrigerator Does for You
After six hours, let the pot cool on the stove, then refrigerate it overnight — bones, liquid, everything. Don’t strain it yet. The cold does two things: it gives you a break, and it solidifies the rendered fat on the surface into a pale, slightly yellow disc that you can lift off cleanly. Reserve that fat. In ramen shops it gets whisked back into individual bowls at serving, where it melts on contact and rounds out the finish of the broth. Don’t discard it as waste. It’s not.
Twelve Minutes to a Complete Bowl
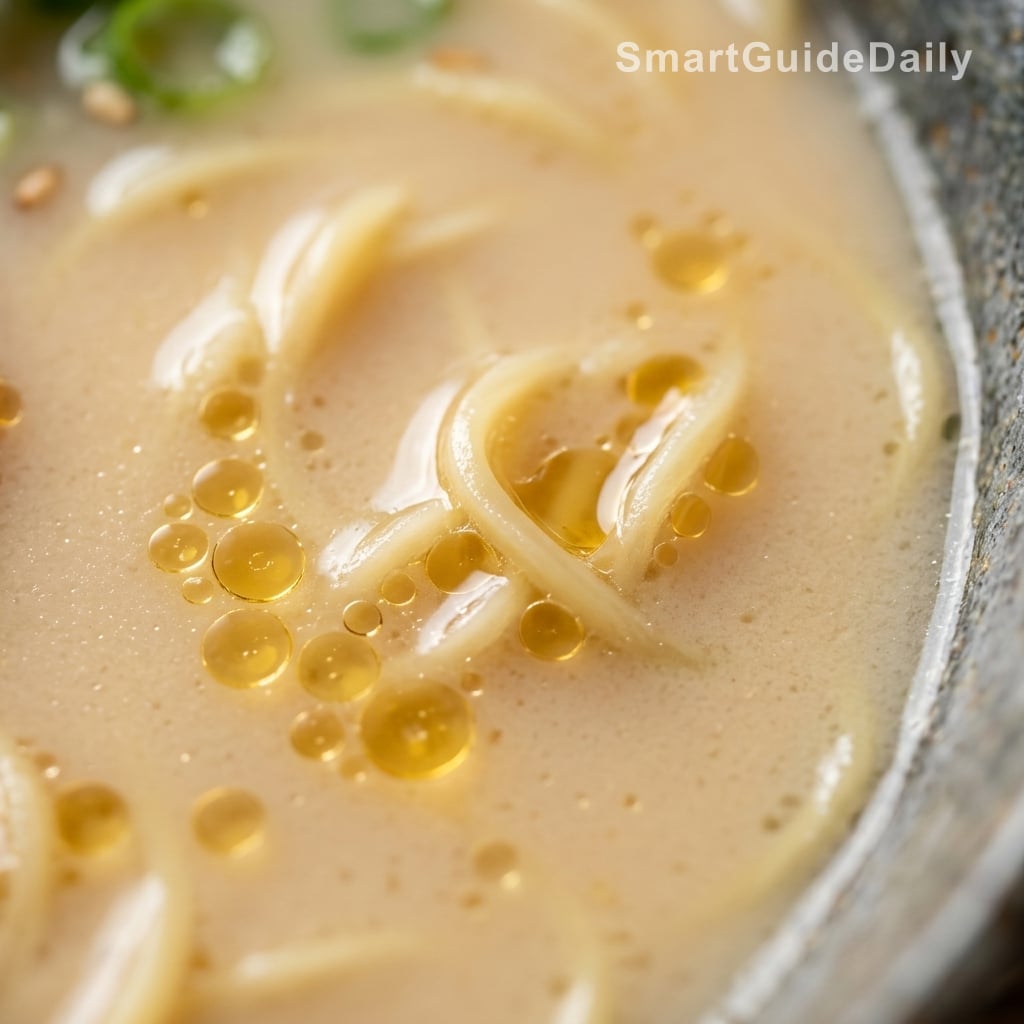
On day two, bring the pot back to a boil, add the kombu and dried shiitake, continue for two more hours, then remove the aromatics and strain the broth through a fine-mesh sieve, pressing the bones hard to extract what’s left in them. What remains in the pot should be dense, pale, and smell of deep, round savoriness — nothing sharp, nothing acrid. To build each bowl: heat the broth to a simmer, cook noodles separately in unsalted water and drain them, add a tablespoon of tare to the bottom of the bowl, ladle in hot broth, add the noodles, a halved marinated egg, a sheet of nori, scallions, and a small spoonful of the reserved fat. That is the bowl. The fat melts into white threads on contact with the hot broth, and the whole thing comes together in a way that the ingredient list doesn’t predict.
Tips & Tricks
- Never salt the broth while it’s cooking. Add seasoning only at the bowl level, via the tare. The broth stays flexible — you can calibrate saltiness per portion — and it stores and freezes better without added salt.
- Cook noodles in a separate pot and transfer them directly to the serving bowl. If they sit in the broth they absorb it, swell, and turn soft within two minutes. The window between properly cooked and overdone is narrow. Don’t let them wait.
- The marinated eggs need at least four hours in the soy brine. Eight hours is better. Beyond that, the flavor doesn’t penetrate much deeper regardless — so overnight soaking is fine but not meaningfully different from eight hours.
- If you want a slightly darker, more toasted broth, roast the bones in a 425°F oven for 20 minutes before blanching. It changes the color and adds a layer of roasted depth. This is not traditional for a white tonkotsu-style broth, but it’s a reasonable variation if you want more complexity in the base.
Why does the broth need to boil hard instead of simmer gently?
The vigorous boil is the mechanism. It breaks fat molecules into droplets small enough to stay suspended in the liquid, creating the characteristic milky-white color and heavier mouthfeel. A gentle simmer produces a clear, lighter-bodied stock — which is a fine product, but it is not tonkotsu-style broth. These are two different techniques producing two different things.
Can I speed this up with a pressure cooker?
Yes. A pressure cooker reduces the broth time to around 3 hours. The emulsion tends to be slightly less stable and the flavor a touch less developed compared to the long open boil, but the result is usable and the shortcut is defensible if time is genuinely the constraint. Run it at full pressure, then reduce and continue at a vigorous simmer for the final 30 minutes.
Can I use cooked or leftover chicken bones?
Partially. Already-cooked bones have given up most of their soluble collagen in the first cook, which means the finished broth won’t thicken as effectively. Raw carcasses and raw chicken feet are the correct starting point. If raw carcasses aren’t available, supplement heavily with chicken feet — they are almost entirely collagen and work harder per gram than any other bone.
What’s the right texture for the marinated eggs?
The yolk should be set enough to hold its shape when halved but still dense and yielding at the center — not liquid, not chalky. Six minutes in boiling water followed immediately by an ice bath gives you this. The ice bath is not optional; skip it and carry-over cooking overshoots the target by the time the egg cools on the counter.
How long does the broth keep, and can I freeze it?
Refrigerated, 5 days. Frozen, 3 months with no meaningful change in quality. Reheat over medium-high heat with occasional stirring — the emulsion reassembles as the broth comes back up to temperature. If it looks broken or thin after refrigeration, a vigorous reheat fixes it.
What if I can’t find chicken feet?
The broth will be noticeably thinner without them. Chicken feet are primarily collagen with very little meat, which makes them disproportionately effective for body. If unavailable, add two or three chicken wings to compensate — they contain more collagen per gram than breast or thigh meat. The result won’t be identical, but it’s the most effective substitution.
Tonkotsu-Style Ramen at Home: The 2-Day Chicken Bone Broth
Japanese
Mains
A properly milky, collagen-rich bone broth ramen built over two days — most of which is unattended. The active work is around 45 minutes. The result is a bowl that bears no resemblance to what comes out of a packet.
Ingredients
- 1.5 kg raw chicken carcasses (3–4 whole carcasses)
- 500 g chicken feet
- 15 g dried kombu (one hand-sized piece)
- 3 dried shiitake mushrooms
- 1 head garlic, halved crosswise
- 30 g fresh ginger, sliced (no need to peel)
- 3.5 liters cold water (plus more as needed during cooking)
- 80 ml soy sauce (for the tare)
- 1 tsp sesame oil (for the tare)
- 1 tsp sugar (for the tare)
- 600 g boneless chicken thighs (for the chashu)
- 30 ml soy sauce (for the chashu)
- 1 tsp sugar (for the chashu)
- 4 large eggs
- 60 ml soy sauce (for the egg brine)
- 120 ml water (for the egg brine)
- 400 g fresh ramen noodles (or 300 g dried straight-wheat noodles)
- 4 sheets nori
- 3 scallions, thinly sliced
Instructions
- 1Place chicken carcasses and feet in a large pot. Cover with cold water, bring to a full boil, then drain immediately. Rinse every piece under cold running water until the water runs clear. This removes blood and proteins that would muddy the broth.
- 2Return the cleaned bones to the pot. Add 3.5 liters of fresh cold water. Bring to a hard boil over high heat and maintain it — do not reduce to a simmer. The liquid will turn milky white within the first two hours.
- 3Continue the vigorous boil for 6 hours, adding water as needed to keep bones submerged. Skim any dark foam that rises in the first 30 minutes, but do not skim after that — the white foam is the emulsion forming.
- 4Let the pot cool to room temperature, then refrigerate overnight with the bones still in the broth. Do not strain yet.
- 5The next day, lift off and reserve the solidified fat disc from the surface. Set aside.
- 6Return the pot to a hard boil. Add the kombu, dried shiitake, garlic, and ginger. Boil for 2 more hours.
- 7Remove and discard all aromatics. Strain the broth through a fine-mesh sieve, pressing the bones firmly to extract all remaining liquid. Discard the solids. The finished broth should be opaque and pale.
- 8Make the tare: combine 80 ml soy sauce, 1 tsp sesame oil, and 1 tsp sugar. Stir until the sugar dissolves. Set aside.
- 9Make the marinated eggs: bring a pot of water to a rolling boil. Lower eggs in carefully and cook for exactly 6 minutes. Transfer immediately to ice water and hold for 5 minutes. Peel, then submerge in a mix of 60 ml soy sauce and 120 ml water for at least 4 hours.
- 10Make the chicken chashu: roll chicken thighs tightly and tie with kitchen twine. Sear in a dry pan over medium-high heat until golden on all sides. Add 30 ml soy sauce and 1 tsp sugar directly to the pan with a splash of water. Reduce heat, cover, and braise gently for 20 minutes, turning once. Let cool, then slice into rounds and remove the twine.
- 11To serve: bring the strained broth to a simmer. Cook noodles in a separate pot of unsalted water per package directions — drain while still slightly firm. Add 1 tablespoon of tare to the bottom of each bowl. Ladle in approximately 350 ml of hot broth. Add noodles, two egg halves, sliced chashu, a sheet of nori, and scallions. Finish with a small spoonful of the reserved fat.
Notes
• The broth is unsalted by design. All salt comes from the tare at the bowl level, which lets you adjust per portion and store the broth without it becoming over-seasoned as it reduces.
• If the broth loses its white color after refrigeration, a vigorous reheat with stirring will restore the emulsion.
• Freeze the broth in quart-sized portions. Once frozen, the hardest part of any future bowl is already done.
• The chicken chashu can be made up to 3 days ahead and refrigerated. Slice cold, then lay the slices in the hot broth for 30 seconds to warm through before adding to the bowl.
Nutrition Facts (per serving, estimated)
| 595 kcalCalories | 43 gProtein | 58 gCarbs | 19 gFat |